Configure Visual Tracking
Visual tracking allows you to track an individual (such as a suspect) across different areas without losing sight of the individual. You need to associate one camera with other cameras nearby so that you can click on the image of this camera to jump to other associated cameras' views. To associate the camera with other cameras nearby, you should create on-video overlays for a camera, thus when you click on the overlays on one camera, it will jump to other cameras during live view or playback.
-
On the camera list on the left,
drag
cameras on
the
captured image of the current camera and place them according
to the actual mounting positions to associate them.
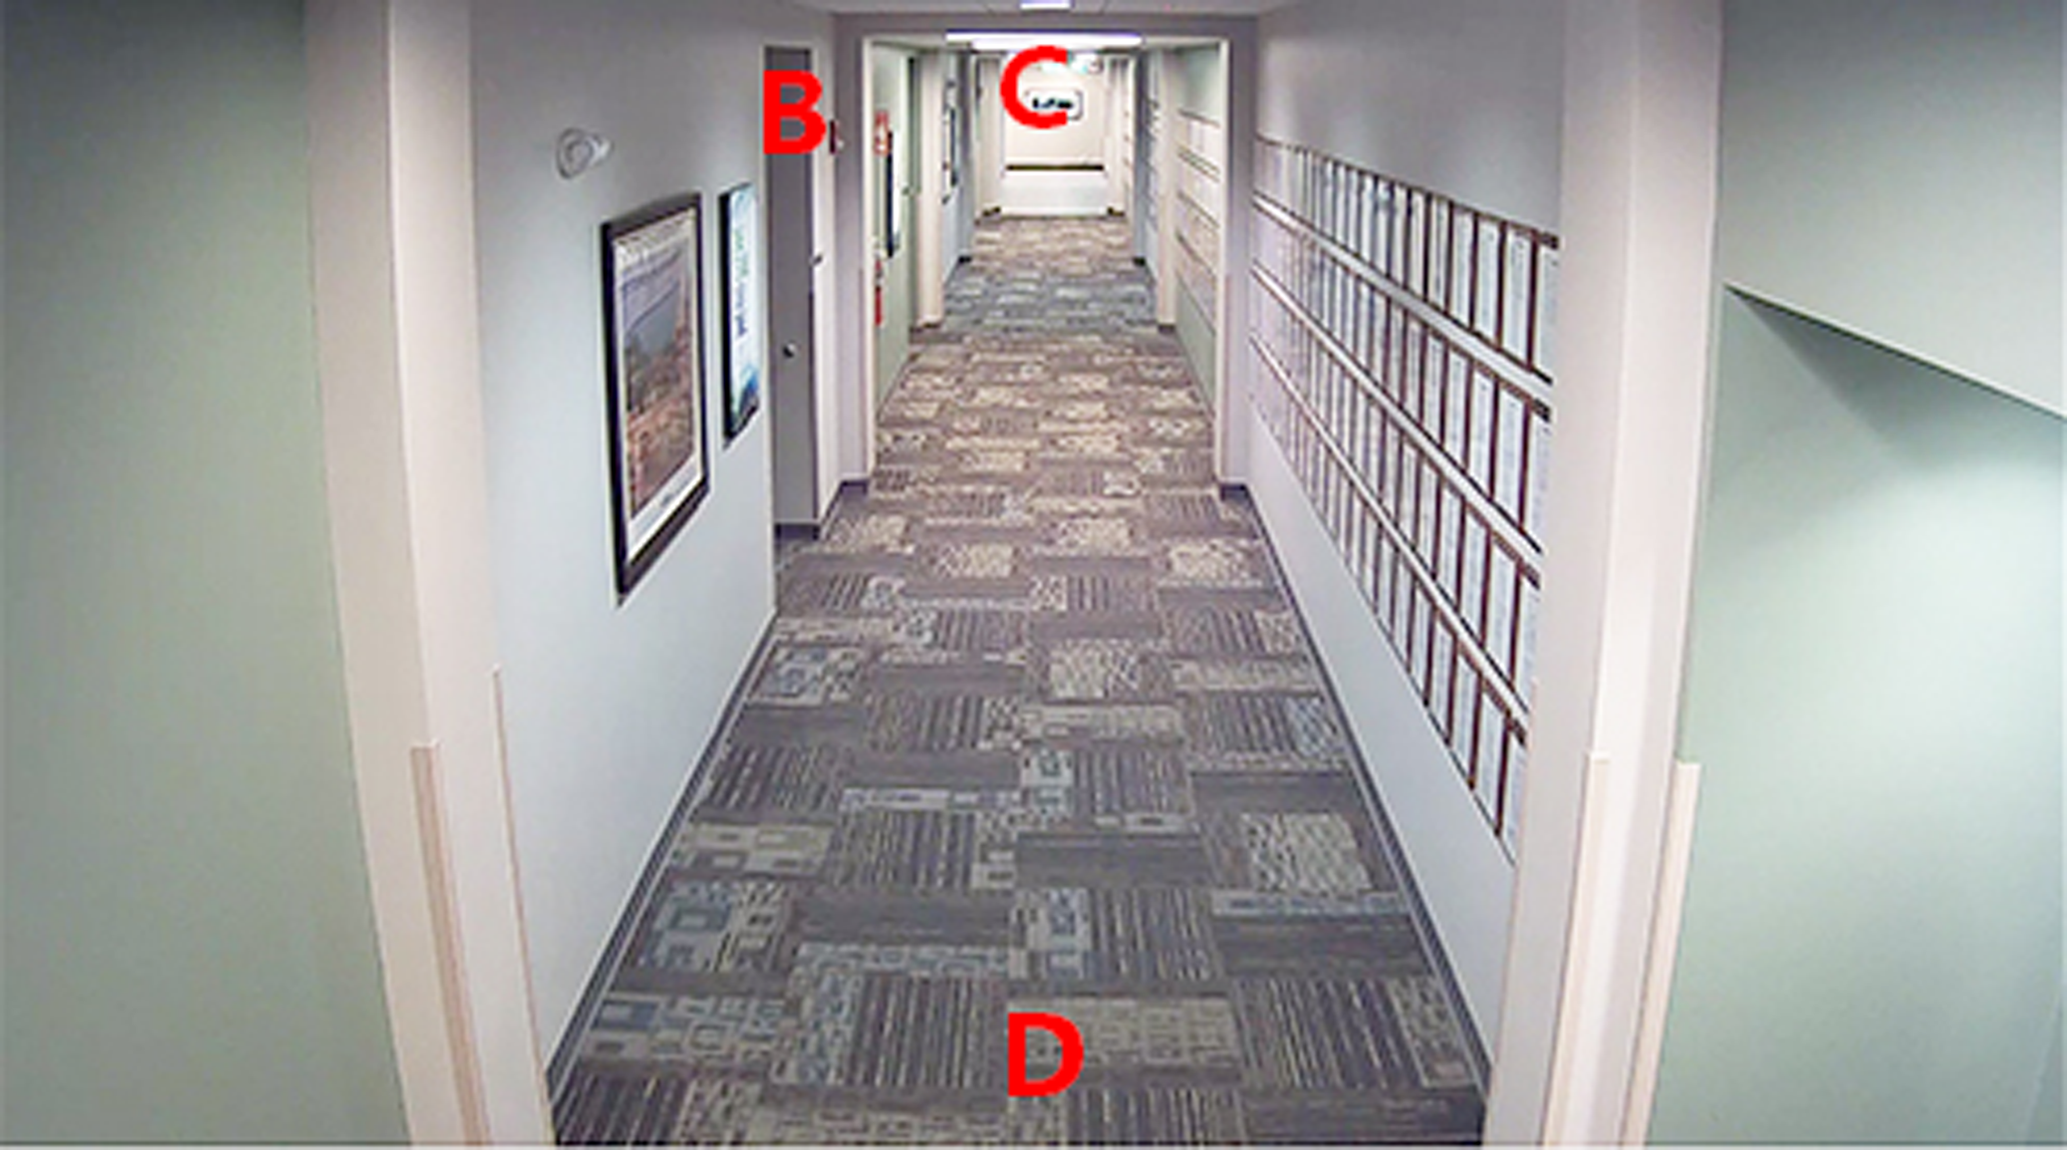
Figure 1. Set Visual Tracking

For example, the following picture shows the surveillance image of camera A in a hallway. There are three directions: B, C, and D, and each direction is monitored by one camera respectively. You can associate camera B, C and D with camera A for visual tracking. When an individual passing by and turns to hallway B, the security personnel can click the area B on the image of camera A to jump to the image of camera B.
Configure Visual Tracking
Visual tracking allows you to track an individual (such as a suspect) across different areas without losing sight of the individual. You need to associate one camera with other cameras nearby so that you can click on the image of this camera to jump to other associated cameras' views. To associate the camera with other cameras nearby, you should create on-video overlays for a camera, thus when you click on the overlays on one camera, it will jump to other cameras during live view or playback.
-
On the camera list on the left,
drag
cameras on
the
captured image of the current camera and place them according
to the actual mounting positions to associate them.
Figure 1. Set Visual Tracking
For example, the following picture shows the surveillance image of camera A in a hallway. There are three directions: B, C, and D, and each direction is monitored by one camera respectively. You can associate camera B, C and D with camera A for visual tracking. When an individual passing by and turns to hallway B, the security personnel can click the area B on the image of camera A to jump to the image of camera B.