Add Receipt Visitor Pass Template
The platform offers a default receipt template that defines a default style. If the default style does not meet your needs, you can add a receipt template to customize the style.
-
On the top left of the Web Client, select
 > Passing Management > Visitor > Basic Configuration > Visitor Pass Template > Receipt Template.
-
Click
 to enter the
Create
Receipt Template page.
to enter the
Create
Receipt Template page.
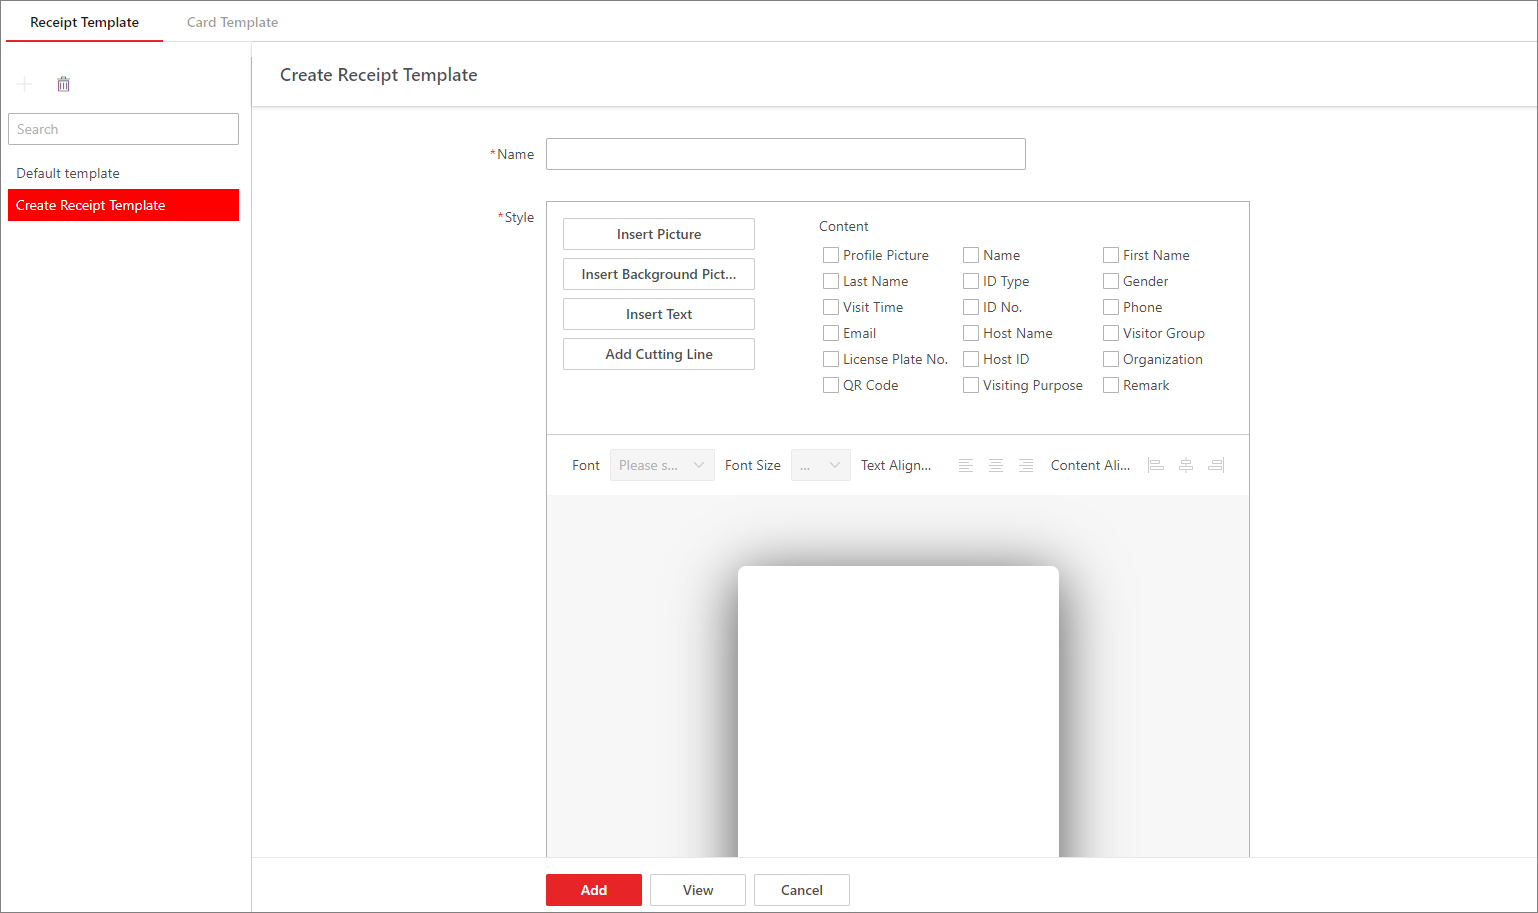 Figure 1 Create
Receipt Template Page
Figure 1 Create
Receipt Template Page -
Adjust positions of the added elements.
Option Description Manually Adjust Position
Drag an element to adjust its position.
Align Elements
Drag to select elements and then click
 ,
,  , or
, or  .
.Adjust Position via Right-Click Menu
Right click an element and then click Stick on Top, Stick at Bottom, Move Up, or Move Down.
- Optional:
Perform the following operations.
Option Description Edit a Template
Select a template from the template list to edit it.
Delete a Template
Select a template from the template list and then click
 .
.