Configure Scheduled Overtime Parking Reports
You can configure scheduled overtime parking reports by specifying parking lot(s) and the statistical cycle. Once set, the platform will send an email to the specified recipient(s) regularly with the report attached, which shows the records of overtime parking vehicles detected during the set time period.
-
Set the email template with recipient information, subject, and content. For details, refer to Add Email Template for Sending Report Regularly.
-
Set email settings such as the sender's email address, name, and SMTP server address and port No. For details, refer to Configure Email Account.
-
Make sure you have added the parking lot(s). For details, refer to Add Parking Lot.
-
A report can contain up to 10,000 records in total.
-
The report will be an Excel file.
-
On the top navigation bar, select
 > Passing Management > Parking Lot > Basic Configuration > Overtime Parking Report.
-
Enter the Create Report page.
-
For configuring scheduled reports for the first time, click Add in the middle of the page.
-
If you have configured scheduled reports before, click
 at the top of the left
pane.
at the top of the left
pane.
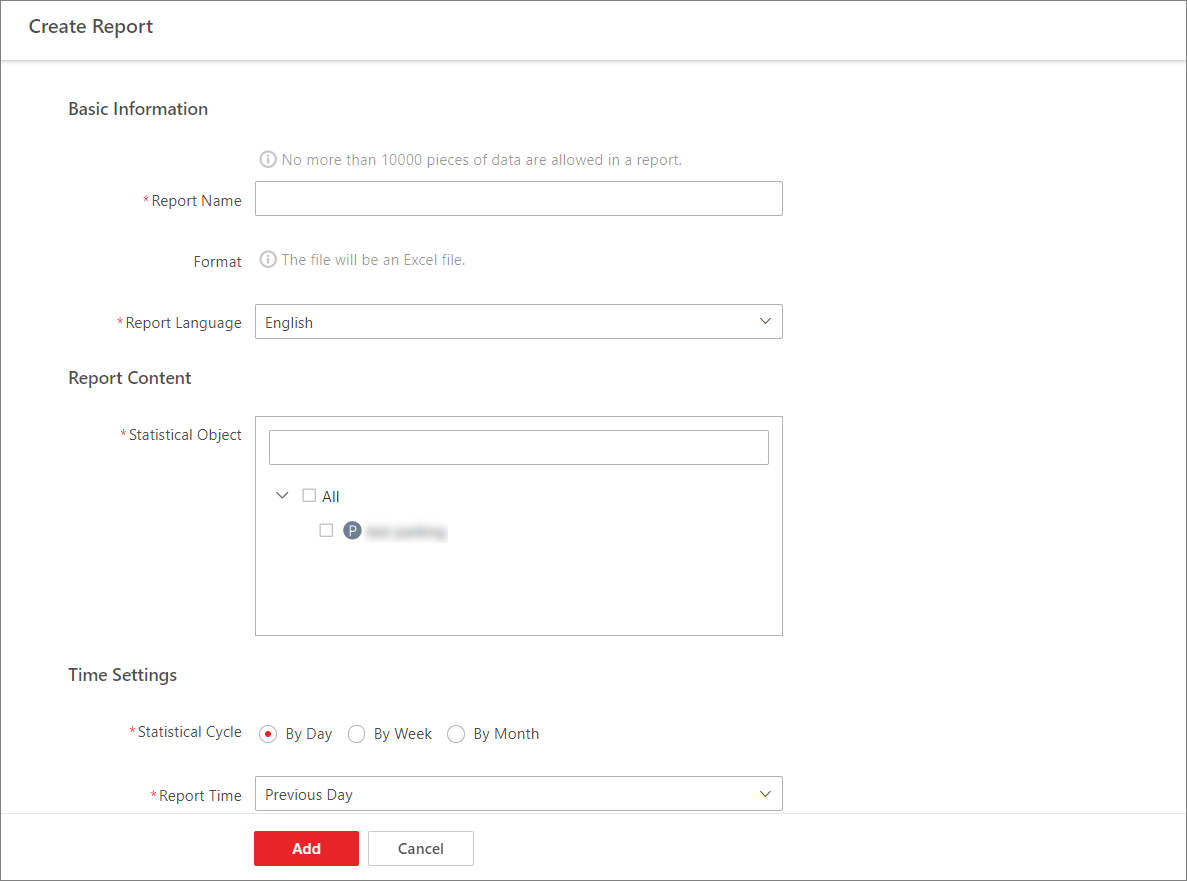 Figure 1 Configure Scheduled
Report
Figure 1 Configure Scheduled
Report -
- Optional:
Set the advanced parameters.
- Send Report via Email
-
Select an email template from the drop-down list to define the recipient information and email format (subject and content), so that the report can be sent to the recipient(s) regularly via email.
Note:You can select an existing email template or click Add to add a new one. For details about adding email templates, refer to Add Email Template for Sending Report Regularly.
- Upload to SFTP
-
Configure SFTP settings including the SFTP address, port No., user name, password, and the saving path for the report to be uploaded to the SFTP server regularly.
Note:You can also click
 > SFTP Settings at the top of the left pane to configure the
corresponding parameters.
> SFTP Settings at the top of the left pane to configure the
corresponding parameters. - Save to Local Storage
-
Configure a saving path for the report to be saved to the local storage regularly.
Note:You can also click
> Configure Local Storage at the top of the left pane to configure the
saving path.