Reserve a Visitor
You can make a reservation for one visitor by entering the visitor and host information on the platform.
Before any operations in the visitor system, you can set the parameters according to actual situations such as setting basic parameters to define the scenario for the visiting process, managing visitor types, adding access levels for visitors, etc. See Configurations Before Visitor Management for details.
-
On the top left of the Web Client, select
 > Passing Management > Visitor > Visitor Reservation.
-
Set the access information.
- Valid Times for Visit
-
The maximum times a visitor can access certain doors or floors by QR code authentication. For example, if you set it to 4, the visitor can access the authorized doors and floors up to 4 times by QR code authentication.
- Access Level
-
Click Configure to assign access levels to the visitor so that the visitor can access the corresponding access points according to the access schedule of the access levels.
Note:To add a new access level for the visitor, see instructions in Add Access Level for Visitors.
- Extended Access
-
If you check Extended Access, the access points that are configured with extended open duration will stay unlocked or open longer for the visitor.
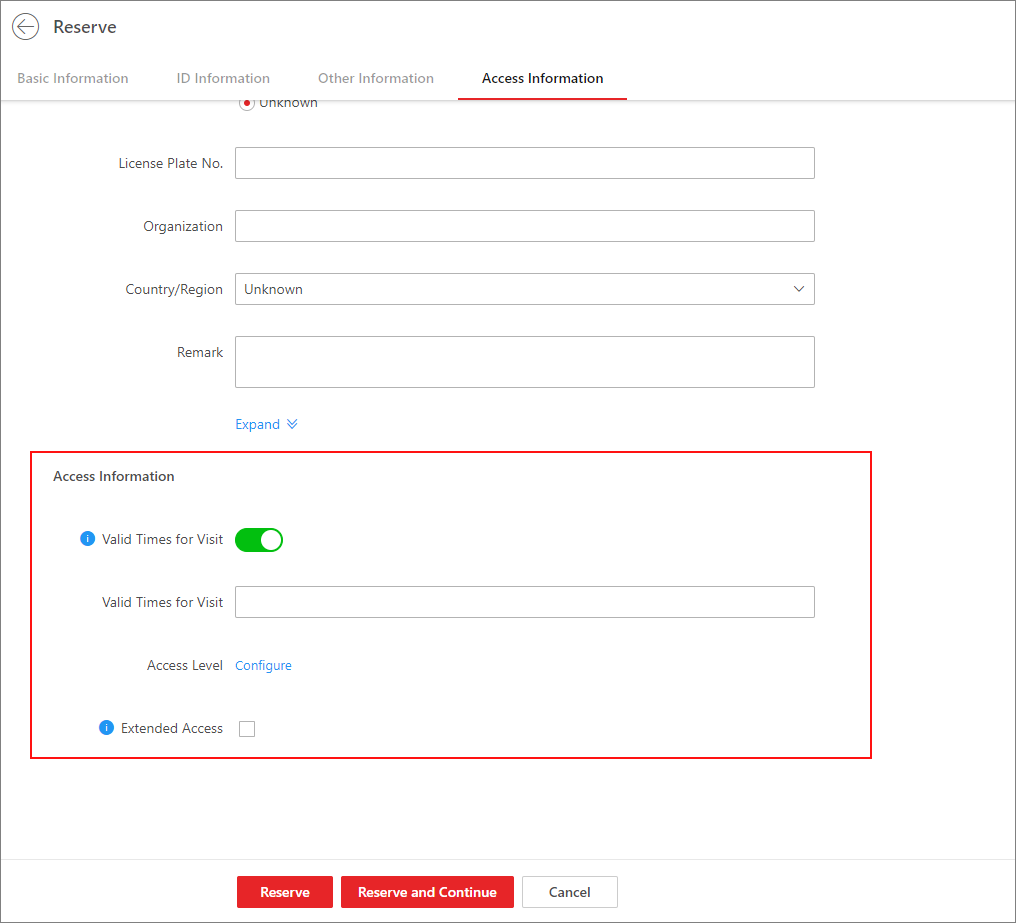 Figure 1 Set Access Information
 - Optional:
Perform the following operations on the reservation list page if needed.
Option Description Delete Reservation(s)
Select one or more visitors and then click Delete to delete the reservations of the selected visitor(s).
Or hover the cursor onto
 and then click
Delete All to delete all
reservations.
and then click
Delete All to delete all
reservations.Edit a Reservation
Click the name of a visitor to edit the reservation for the visitor.
Filter Reservations
Set conditions, such as the phone and visit purpose, and then click Filter to filter reservations.
For the Status condition, you can click
to select one or
more reservation status (reserved, expired, checked in, etc.) to
filter reservations.You can also click Select Additional Information to filter reservations.
Note:If a reservation has not expired, the reservation will expire after it is deleted.