Manage Credentials
When adding a person, you can add the required credential information for the person. The supported credentials include normal cards, faces, fingerprints, and irises. These credentials can be used for the access authentication in applications such as access control and elevator control.
-
On the top navigation bar, select
 > Basic Management > Person.
-
In the Card area, click
 , and then manually enter the
card No. or swipe the card on devices (enrollment station, card enrollment
station,
or card reader) to add normal cards.
Note:
, and then manually enter the
card No. or swipe the card on devices (enrollment station, card enrollment
station,
or card reader) to add normal cards.
Note:-
For manually entering, digits, letters, and the combination of digits and letters can be entered.
-
For swiping cards, you can read card information via the enrollment station, card enrollment station, or card reader. For details, see Batch Issue Cards to Persons.
A QR code will be generated automatically after adding a card and the icon
 will appear in the top right
corner of the card area when you enter the Add Credential page from the
editing person page. You can click to view and scan the QR code or click
Download to download the QR code picture to the
local storage for further operations.
will appear in the top right
corner of the card area when you enter the Add Credential page from the
editing person page. You can click to view and scan the QR code or click
Download to download the QR code picture to the
local storage for further operations.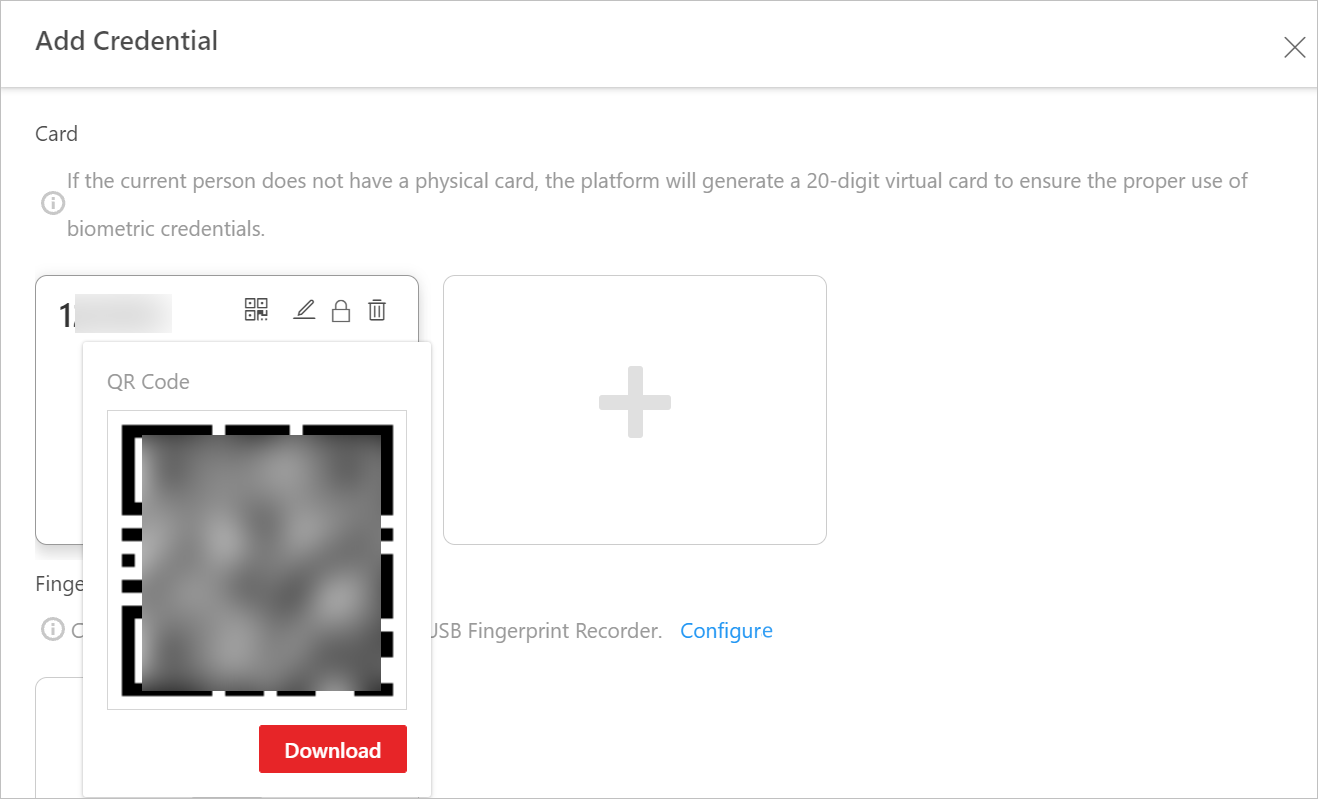 Figure 1 View QR Code of
Card
Figure 1 View QR Code of
Card -
- Optional:
In
the Iris area, collect irises of the person.
- Click Configure to select a device used for collecting the person's irises.
-
Click and then start
collecting irises.
- Optional:
Perform the following operation(s).
Option Description Edit Card / Fingerprint / Iris Information
Hover the cursor onto an added card, fingerprint, or iris, and then click
 .
.View and Download QR Code of Card
Hover the cursor onto an added card, and then click
 .
.Delete Card / Fingerprint / Iris
Hover the cursor onto an added card, fingerprint, or iris, and then click
 .
.