Add Lane
A lane is used to link different devices to realize different functions. For example, a lane linked with an entrance/exit control device is used for managing the entrance or exit of a parking lot, a lane linked with a capture unit (which can recognize a vehicle at the lane and compare the vehicle information with vehicles in a vehicle list) or card-swiping device (i.e., access control device and video intercom device) is used for controlling the barrier, a lane linked with a camera is used for capturing pictures, and a lane linked with a display screen is used for displaying information such as the number of vacant parking spaces.
Make sure you have added at least an entrance/exit for the parking lot. See Add Entrance and Exit for details.
-
On the top navigation bar, select
 > Passing Management > Parking Lot > Parking Lot Management.
-
Click
 to enter the Add Lane
page.
to enter the Add Lane
page.
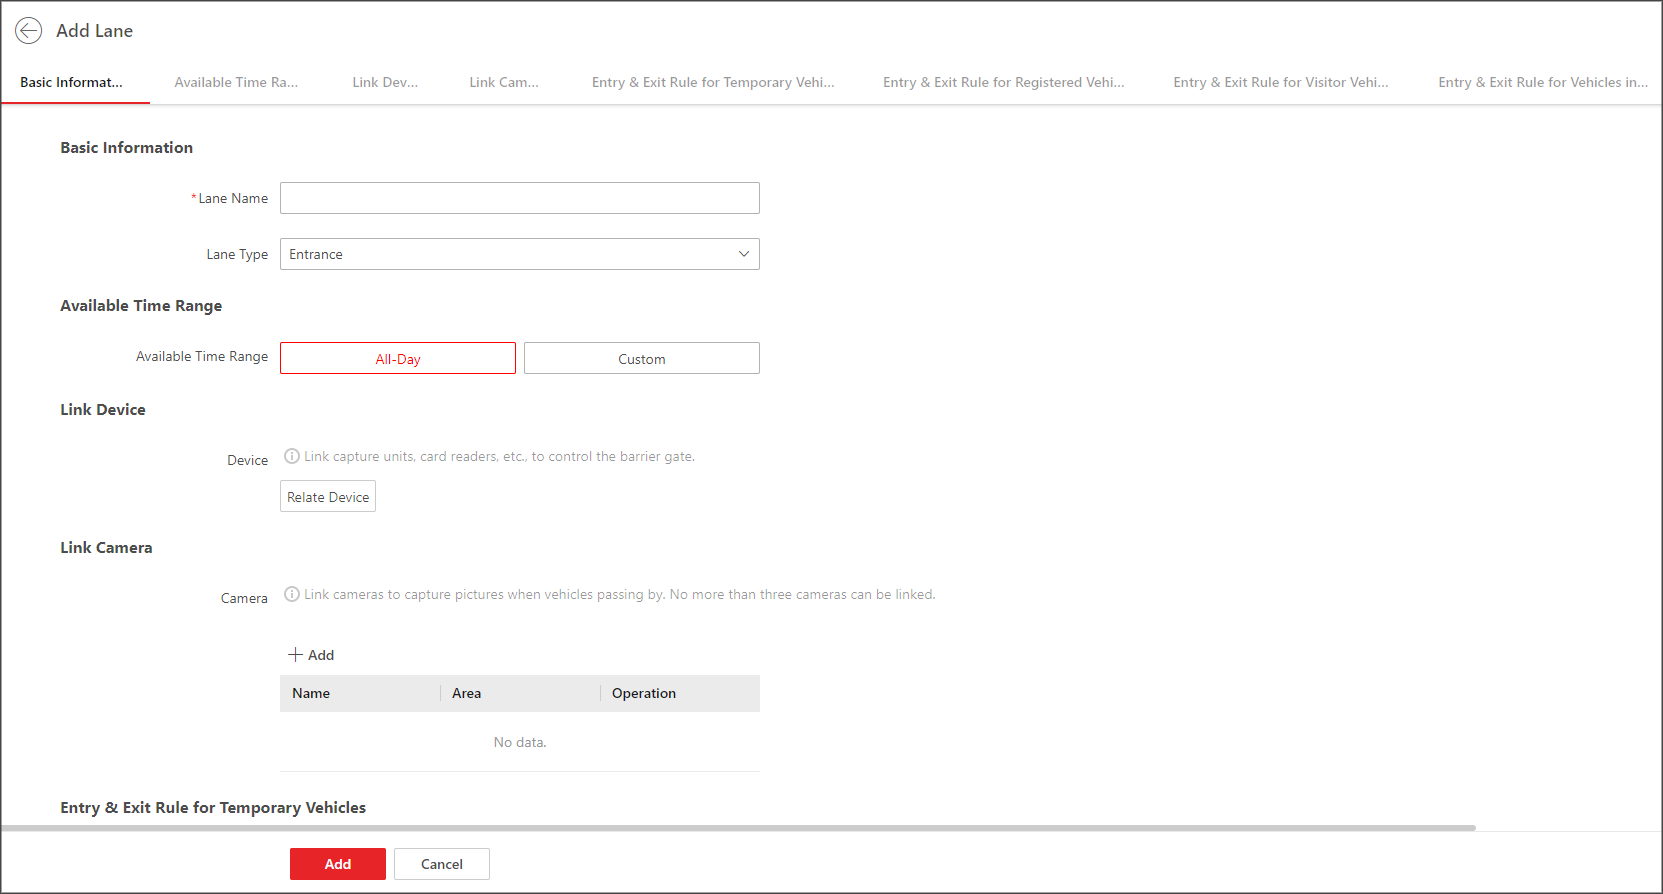 Figure 1 Add Lane Page
 -
Set the lane.
- Optional:
In the Link Device area, click
Relate
Device to select device(s) to be
linked to the lane, and set one device as the barrier control unit
according to actual needs.
- Entrance/Exit Control Device
-
An entrance/exit control device is used for managing the entrance or exit of a parking lot, especially that of an unattended parking lot. After a vehicle gets a ticket or card from an entrance/exit control device, the device will control the barrier gate to open and let the vehicle enter; after the vehicle returns the ticket or card, the device will allow the vehicle to exit. Besides, if an entrance/exit device assigns cards instead of tickets, its guidance screen is configurable. See Link Display Screen and Set Displayed Content for details.
- Capture Unit
-
A capture unit is used for capturing and recognizing license plate number. For example, the capture unit will open the barrier to allow the vehicle to enter the parking lot when recognizing a license plate number in the vehicle list, and will not open the barrier to prevent the vehicle from entering the parking lot when recognizing a license plate number in the blocklist. See Configure Entry & Exit Rules for details about setting an entry & exit rule.
Note:You can link up to two capture units to a lane. If so, you need to set the Matching Time. Hence, when two capture units capture two pictures within the matching time, the picture captured by the capture unit with the higher confidence value will be kept.
- Access Control Device
-
If the administrator selects a card (already issued to the owner for card authentication) for the owner when adding the owner's vehicle, the administrator actually binds the card with the vehicle's license plate number. So the barrier will open when the owner swipes the card on an access control device at the lane. In this circumstance, a capture unit is not needed.
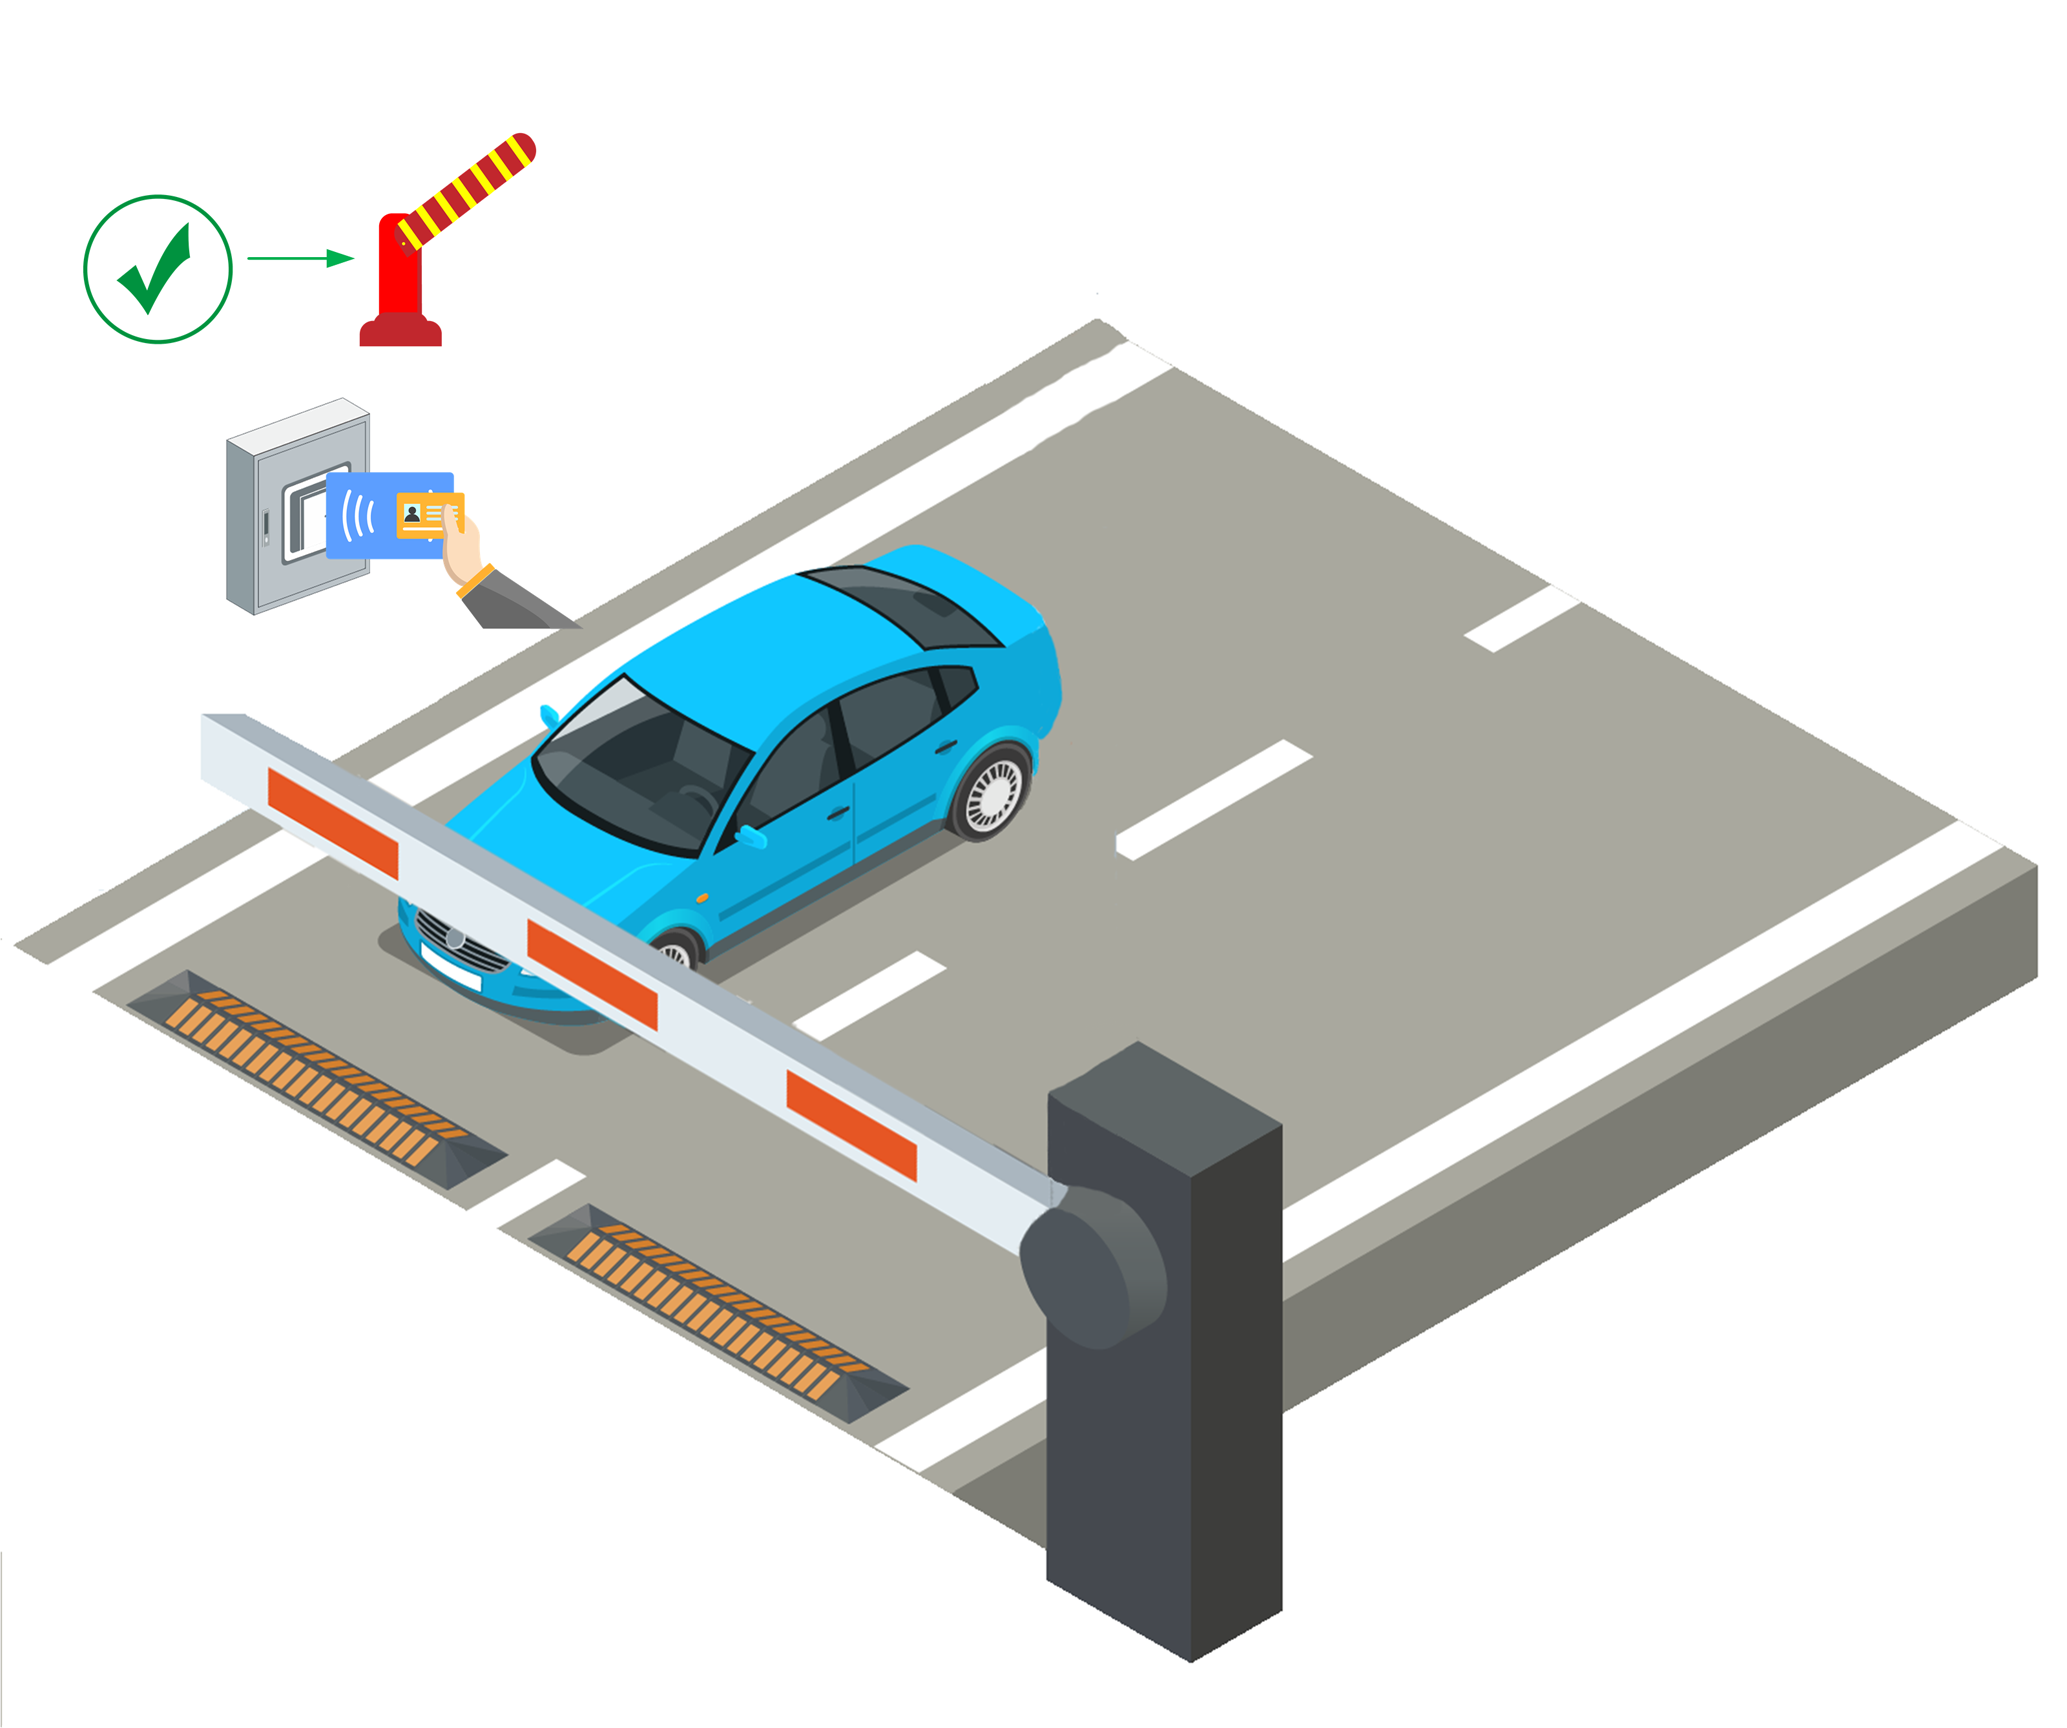 Figure 2 Opening Barrier by Card Swiping
 - Video Intercom Device
-
-
The vehicle owner calls the security guard by the video intercom device (some access control devices can also be used for video intercom).
-
The security guard verifies the owner's identity by viewing her/him by the video intercom device or the license plate number captured by a capture unit.
-
The security guard opens the barrier manually if the vehicle owner is authenticated.
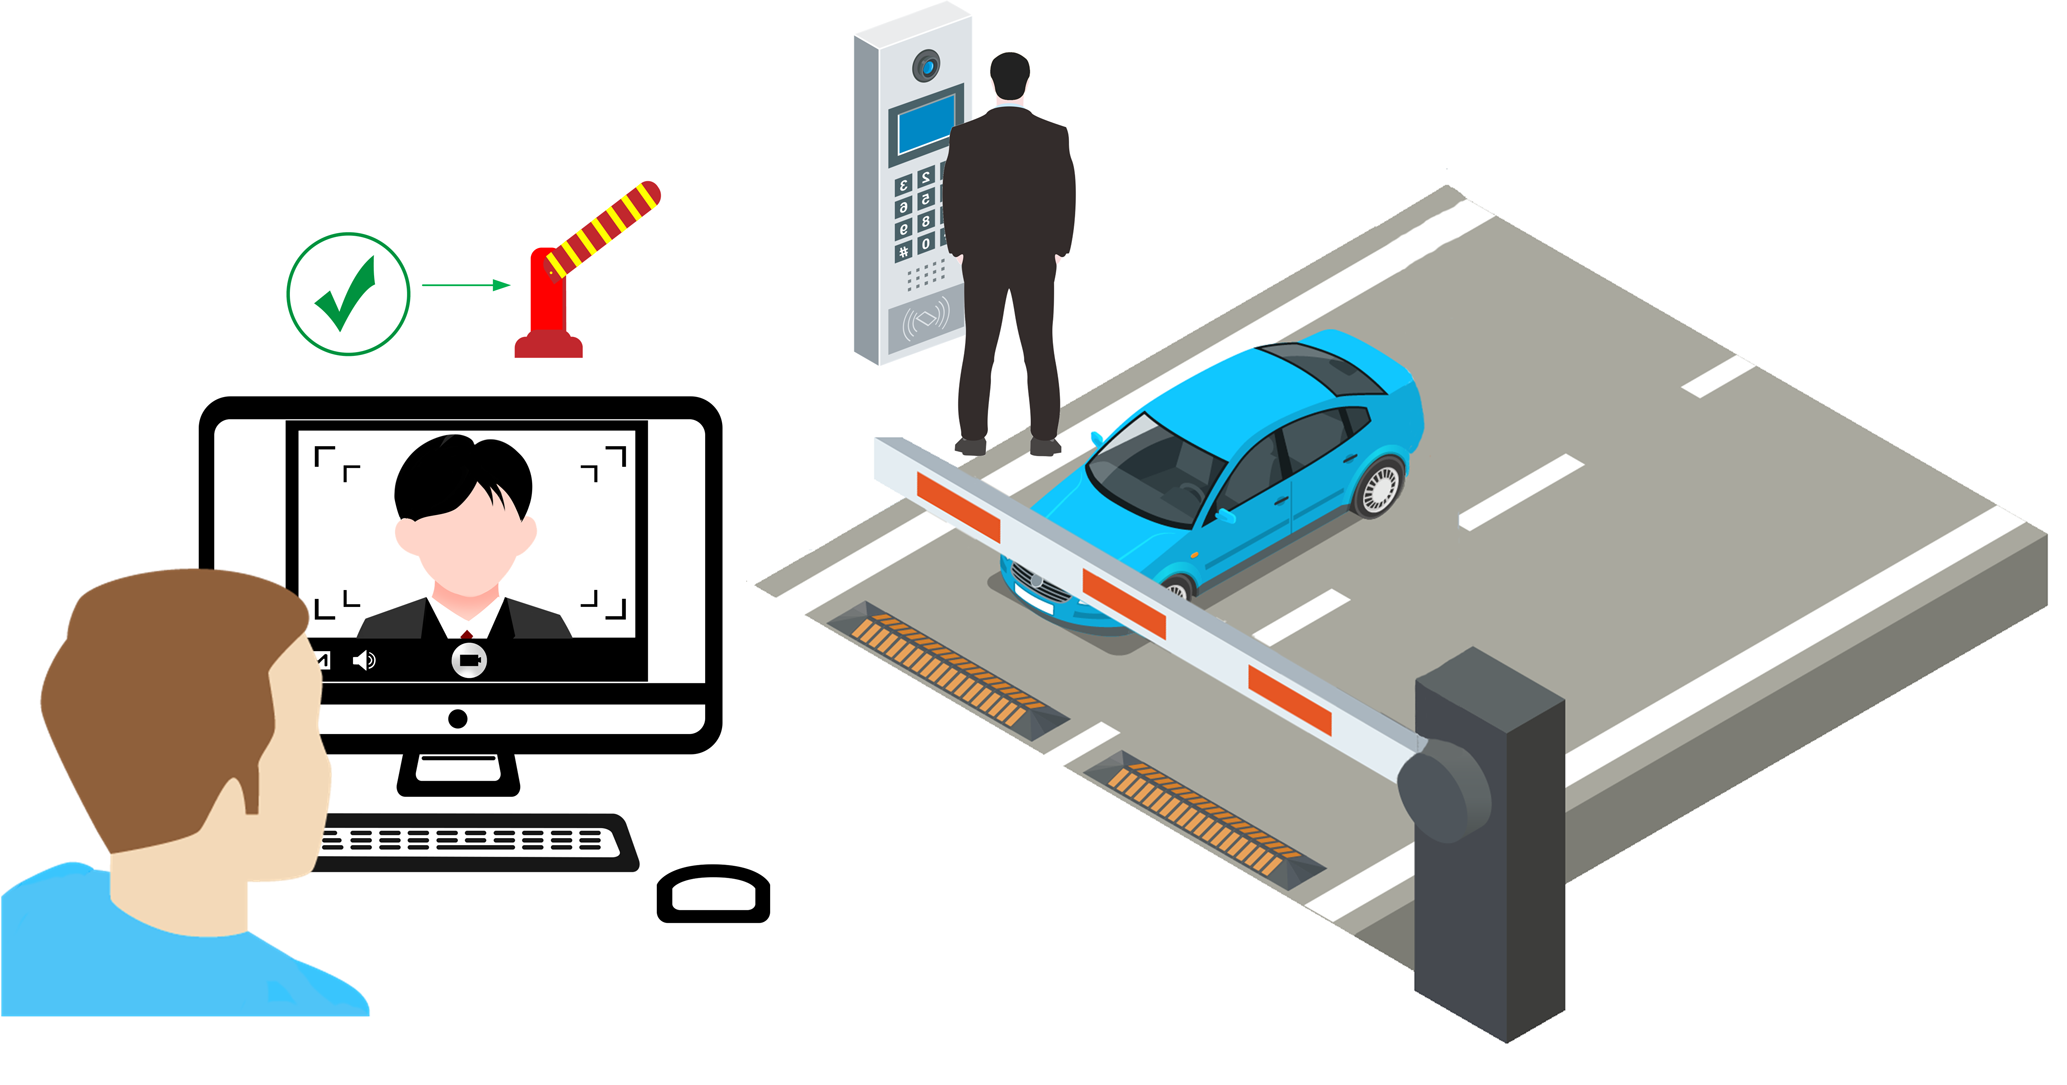 Figure 3 Opening Barrier by Video Intercom
 -
- Display Screen
-
A display screen is used for displaying information such as the number of vacant parking spaces, vehicle expiration date. See Link Display Screen and Set Displayed Content for details.
- Optional:
In the Link Device area, click
Relate
Device to select device(s) to be
linked to the lane, and set one device as the barrier control unit
according to actual needs.