Check In a Visitor Without Reservation
Prior to a visitor's arrival or when the visitor arrives, you need to add the visitor's information to the platform. Once added and checked in, the visitor can authenticate by biometrics (including the fingerprint and face) or QR code, and be able to access the predefined doors and floors.
-
On the top left of the Web Client, select
 > Passing Management > Visitor > Visitor Check-In/Out > Visitor Check-In.
- Optional:
Click Credential Management to set the credentials for
the visitor, including the card and fingerprint.
- Card
-
Issue a card to the visitor to assign the card number to the visitor. You can enter the card number manually, or swipe a card on the card enrollment station, enrollment station, or card reader to get the card number, and then issue it to the visitor.Note:
Only one card can be issued to a visitor.
-
Click
 in the
Card field.
in the
Card field. -
Place the card that you want to issue to this visitor on the USB fingerprint recorder, fingerprint and card reader, or enrollment station, and the card number will be read automatically. Or you can enter the card number manually.
Note:You can click Card Issuing Settings to set the issuing parameters.
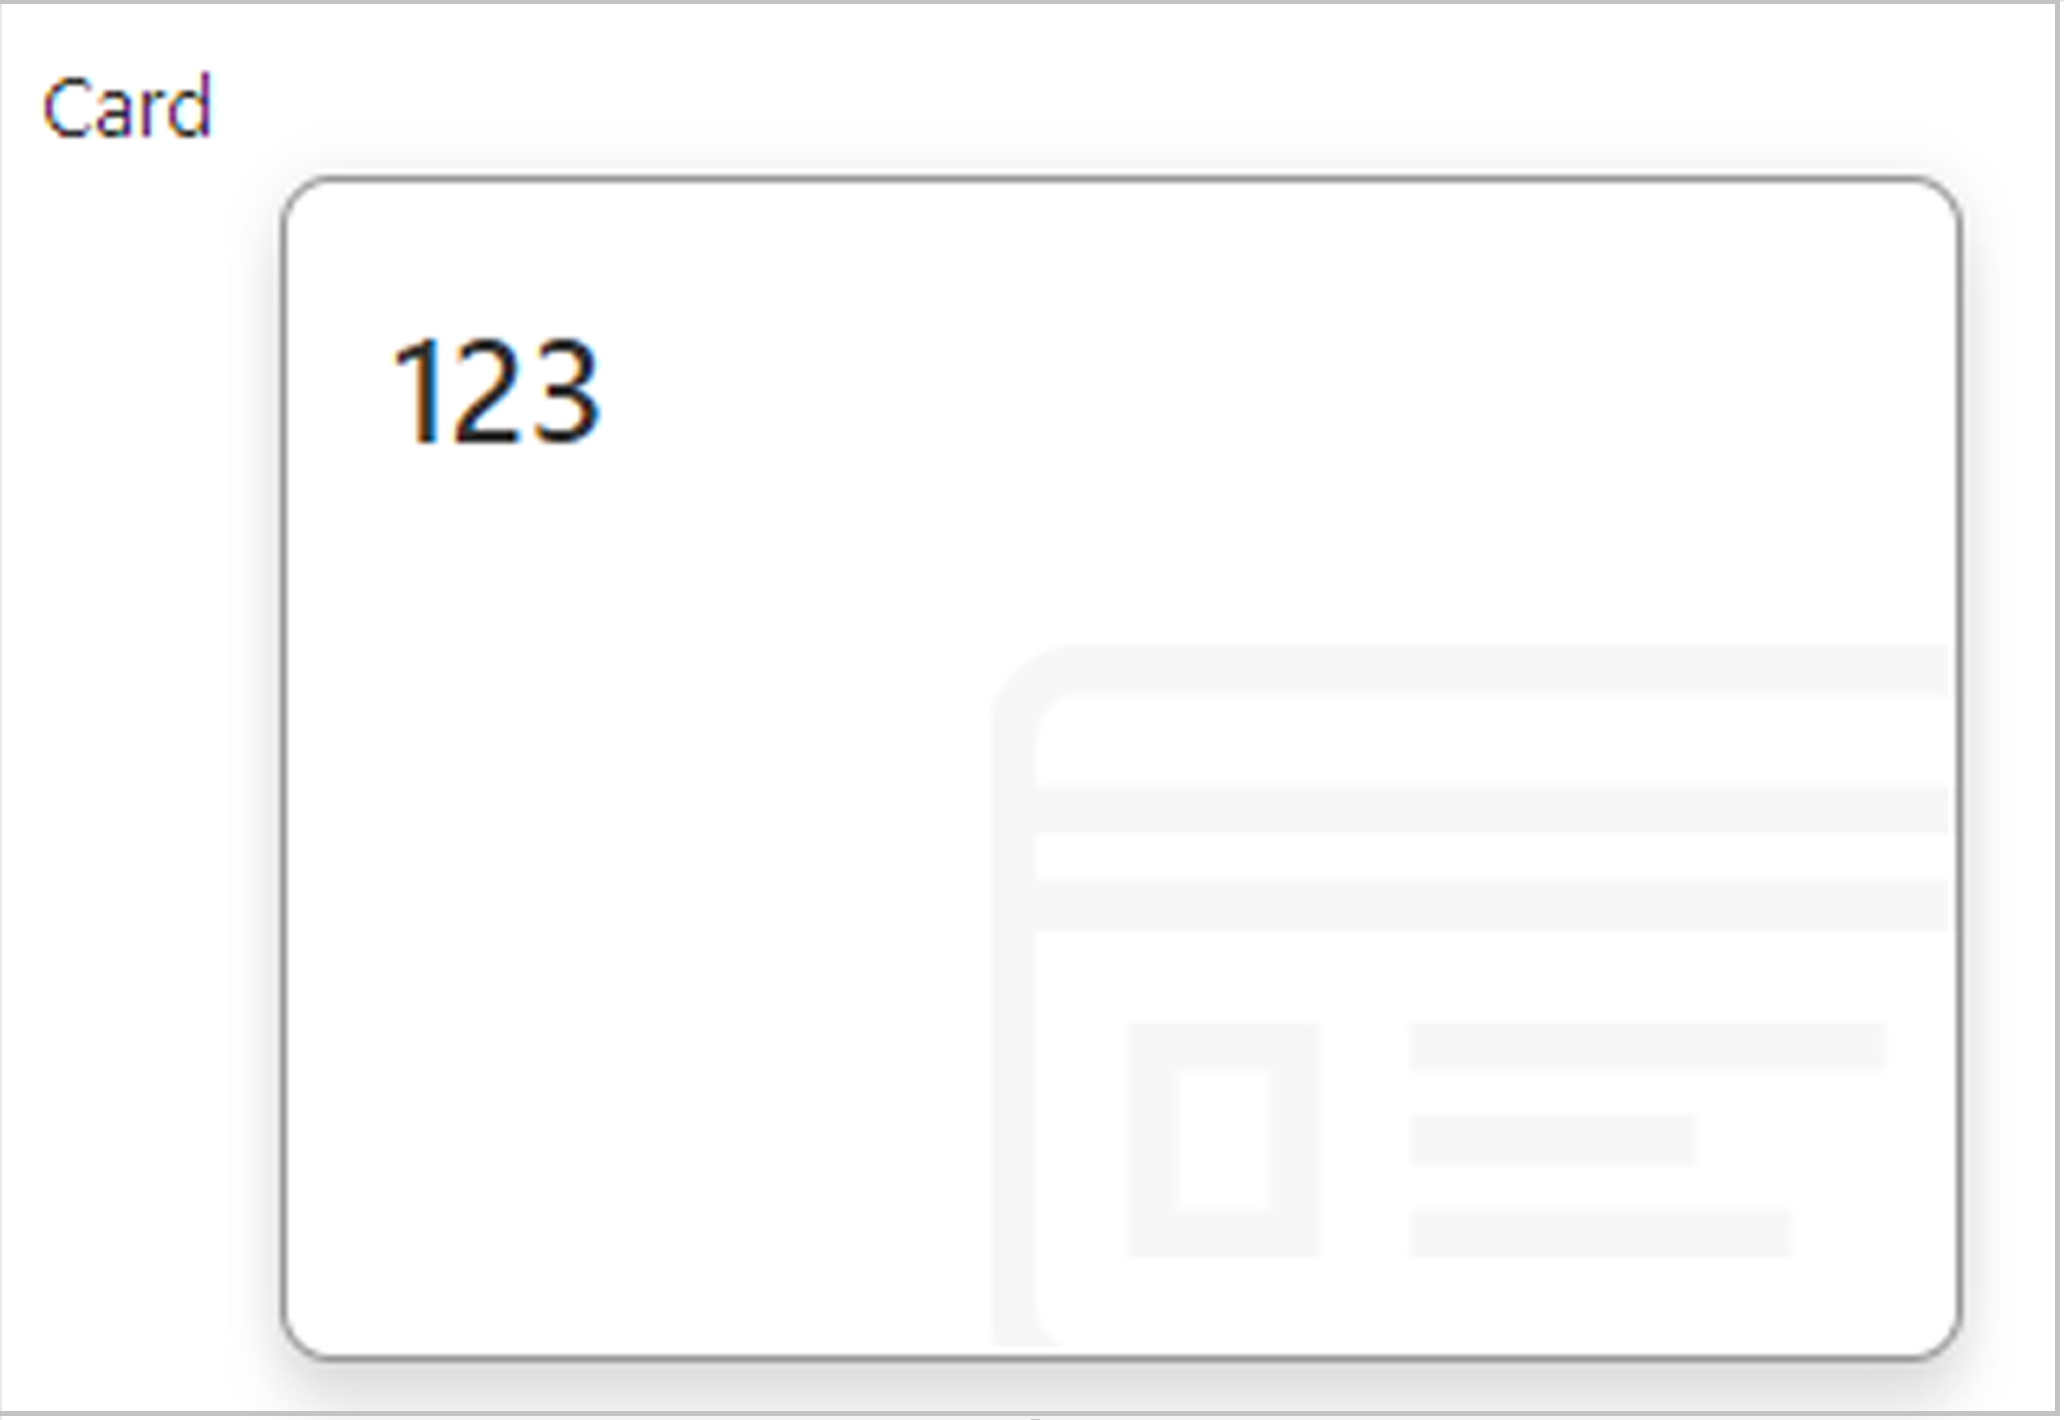 Figure 1 Read
Card
Figure 1 Read
Card -
- Fingerprint
-
The platform provides three ways to collect fingerprints: via a USB fingerprint recorder, via an enrollment station, or via a fingerprint and card reader.
Click Configure to set the collection mode as follows.
- USB Fingerprint Recorder
-
Collect fingerprints via a USB fingerprint recorder connected to the computer running the Web Client, which is plug-and-play and does not require any settings. This mode is suitable for face-to-face scenarios where the person and the system administrator are in the same location.
After connecting the fingerprint recorder to your computer, click
, place
and lift your finger on the recorder following the
prompts, and it will collect your fingerprint
automatically. - Fingerprint and Card Reader
-
Collect fingerprints via the fingerprint scanner of an access control device or a video intercom device which is managed in the system. This mode is suitable for non-face-to-face scenarios where the person and the system administrator are in different locations.
Select an access control device or a video intercom device from the managed device list.
Click
, place
and lift your finger on the selected fingerprint and
card reader following the prompts, and it will
collect your fingerprint automatically. - Enrollment Station
-
You need to specify the device IP address, port number, user name, and password to access the enrollment station. Then click
, place
and lift your finger on the device, and it will
enroll your fingerprint automatically.
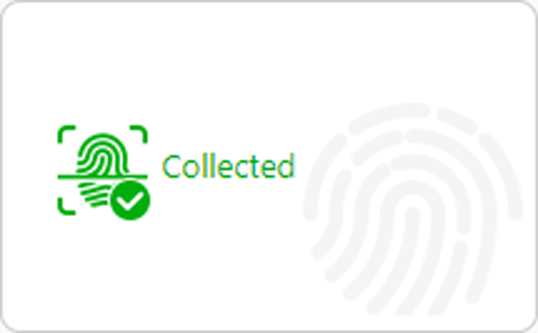 Figure 2 Fingerprint RecordedNote:
-
No more than one fingerprint can be collected for 1 visitor.
-
You can configure either cards or fingerprints.
-
Set other information.
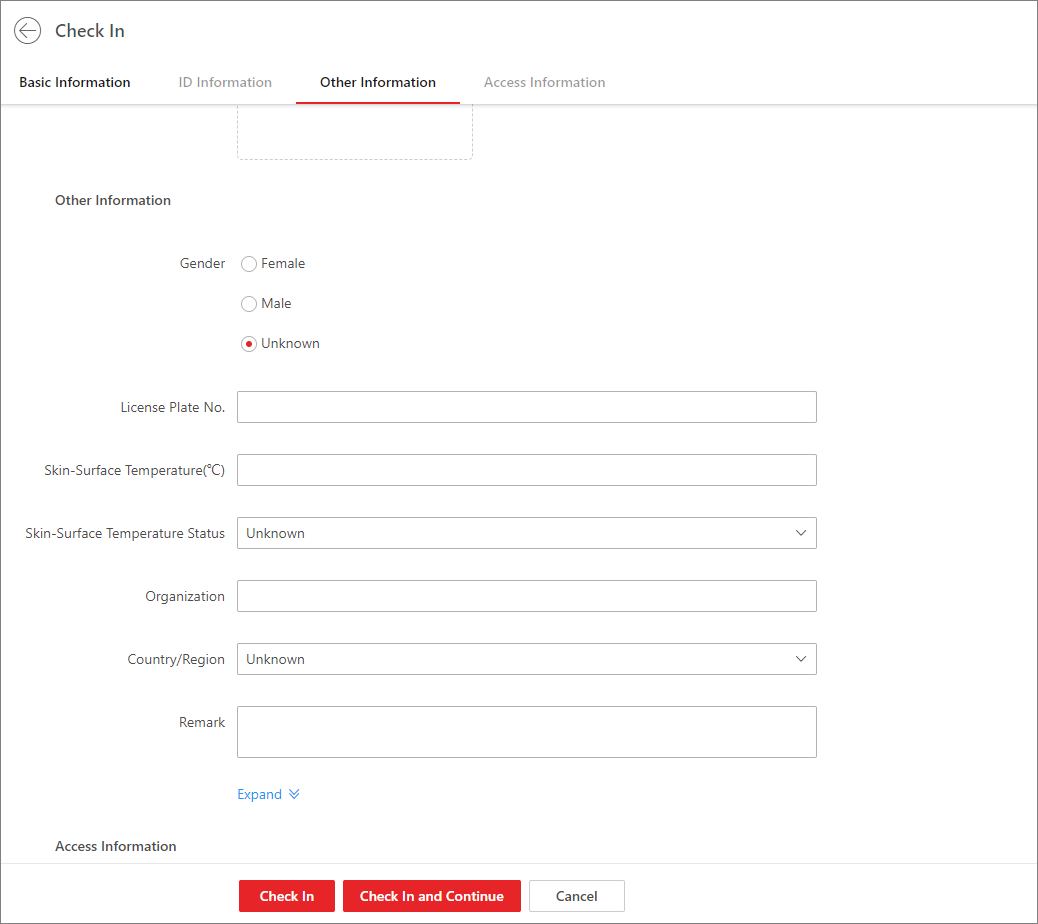 Figure 3 Set Other
Information
Figure 3 Set Other
Information -
Go back to the Visitor Check-In page to check whether the visitor information
fails to be applied to the visitor terminal(s). If it fails, check the failure
details, troubleshoot, and apply again.
Note:
If there is visitor information which fails to be applied to visitor terminal(s), a notification will show above the visitor list on the Visitor Check-In page. In this case, you can click View to view the failure details and troubleshoot according to the reasons shown on the window, and then click Apply Now or Apply Again to apply the visitor information to the visitor terminal(s) again.
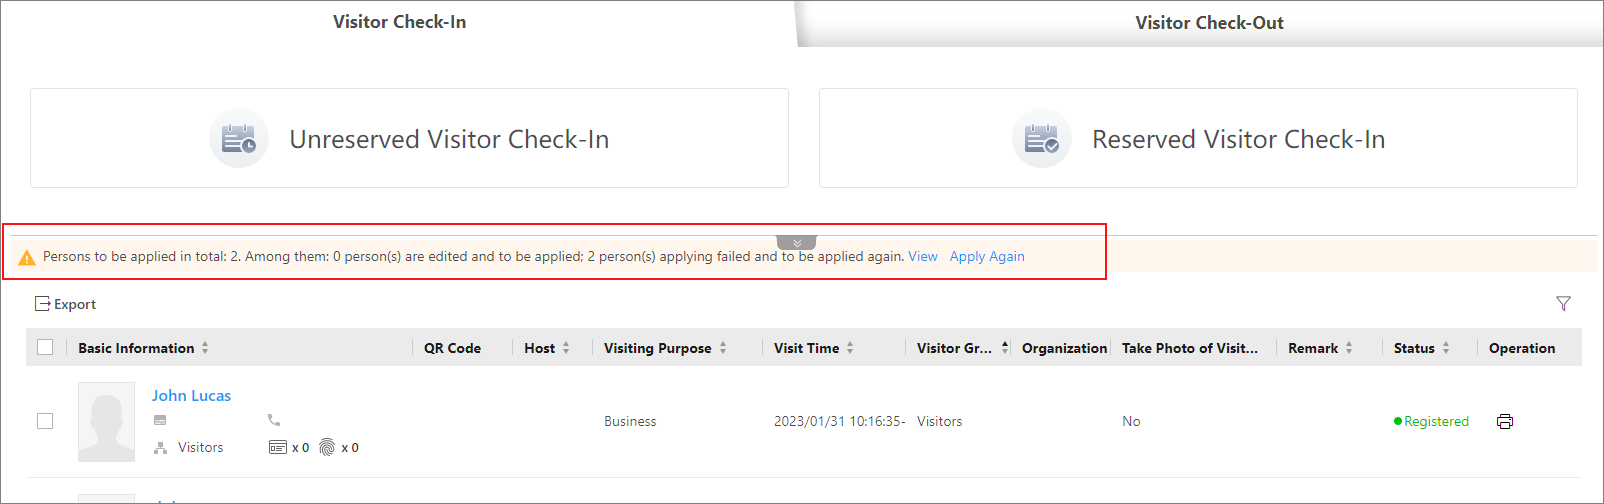 Figure 4 Notification of
Applying Failures
Figure 4 Notification of
Applying Failures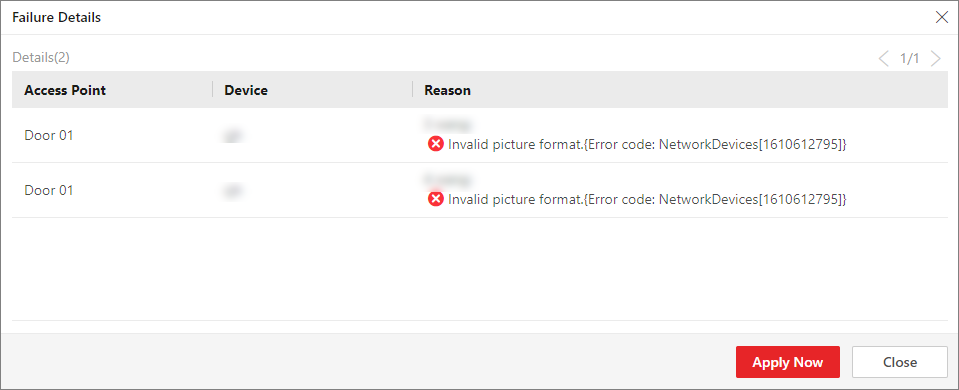 Figure 5 Failure
Details
Figure 5 Failure
Details - Optional:
Perform the following operations on the Visitor Check-In page if needed.
Option Description Filter Visitors
Click
 to filter visitors
by conditions such as the ID No., name, phone, and organization.
to filter visitors
by conditions such as the ID No., name, phone, and organization.For the Status condition, you can click
 to select one or
more reservation status (reserved, expired, checked in, etc.) to
filter visitors.
to select one or
more reservation status (reserved, expired, checked in, etc.) to
filter visitors.You can also click Select Additional Information to filter visitors.
Export Visitors
Select visitors and click Export to export checked-in visitors to the local PC as a file.
Note:You will be required to set a password for the exported file for security. We highly recommend you change the password of your own choosing (using a minimum of 8 characters, including at least three kinds of following categories: upper case letters, lower case letters, numbers, and special characters) in order to increase the security of your product.
Edit Visitor Information
Click on a visitor's name to edit the information.Note:If the visitor is checked out, you cannot edit the information.
Download a Visitor QR Code
Click
 in the QR Code column to download the QR code
for the visitor. You can print it or send it to the visitor for
identity authentication at access points.
in the QR Code column to download the QR code
for the visitor. You can print it or send it to the visitor for
identity authentication at access points.Print a Visitor Pass
Click
 to print the visitor
pass for the visitor.
to print the visitor
pass for the visitor.
You can view the added visitors in the Visitor List. For details, see View Visitor Information.