Add Temporary Schedule
You can add a temporary schedule for the person and the person will be assigned with the schedule temporarily. You can also view and edit the temporary schedule details.
You should have added the person(s) and the shift. For details, refer to Add Person and Add Shift.
The temporary schedule has the higher priority than other schedules.
-
On the top left, select
 > Integrated Service > Attendance. Select on the left.
-
In Select Person(s) area, click
 and select the needed persons.
-
In Select Timetable(s) area, select the
needed timetable.
Note:
You can also click
to add timetable if needed. For details, refer to Add Timetable for Normal Shift or Add Timetable for Flexible Shift. -
In the calendar area, click one or multiple dates, then the selected timetable
will be added to the selected date(s).
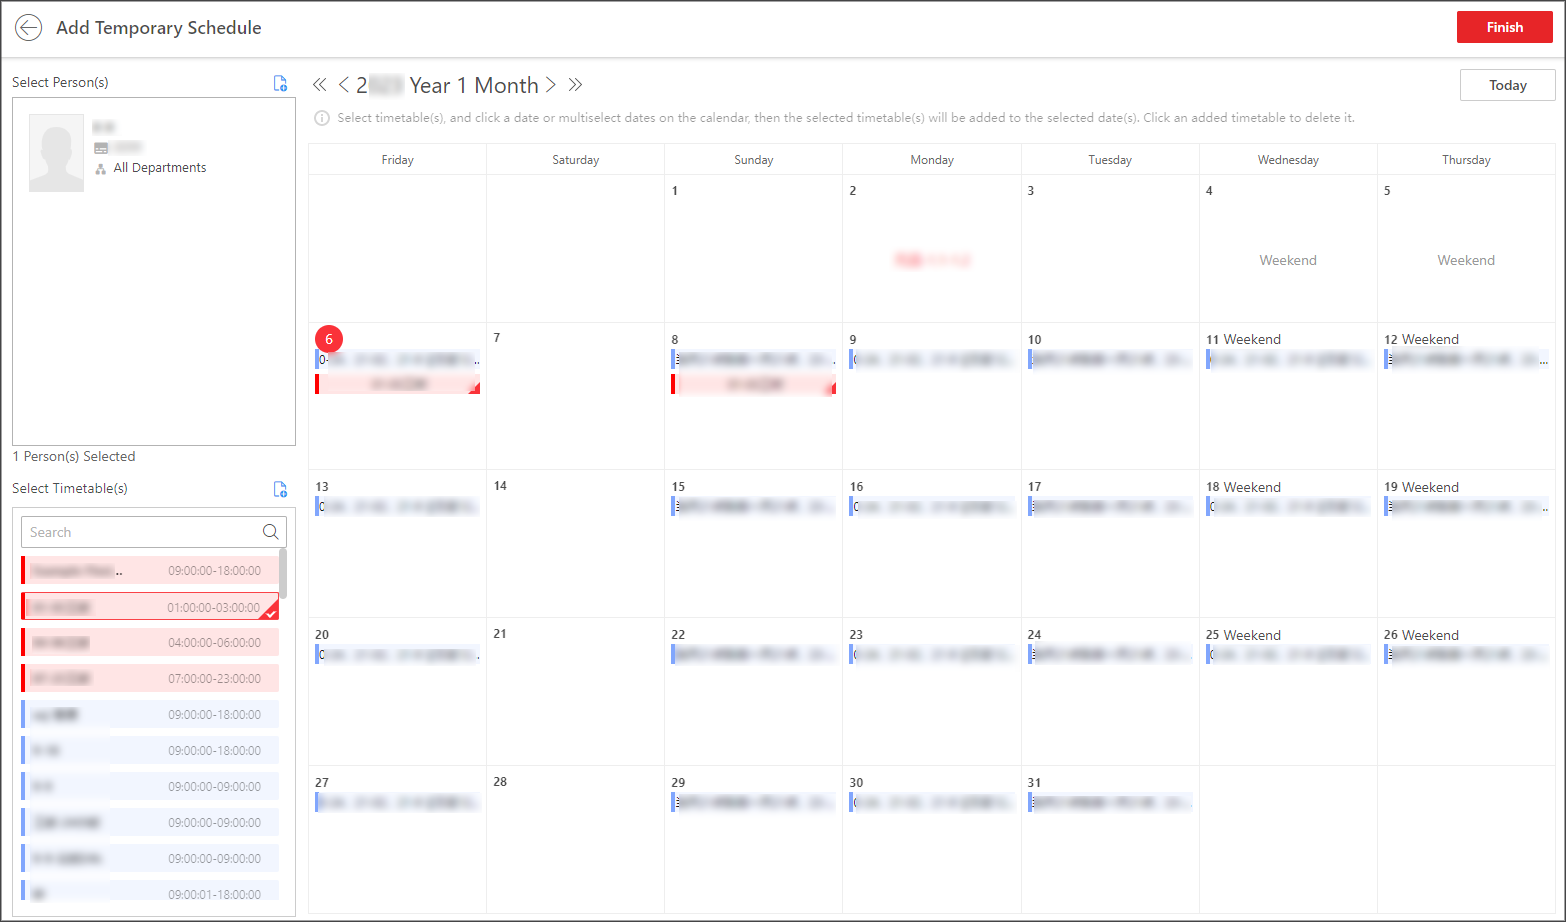 Figure 1 Add Temporary
Schedule
Figure 1 Add Temporary
Schedule - Optional:
In the specific date of the calendar, click
 and select whether to perform the following
operations.
and select whether to perform the following
operations.
- Clear Shifts
-
Click to clear all schedules of the selected date.
- Restore to Initial Schedule
-
Click to cancel the adding and restore to the initial schedule.
- Specify Attendance Check Points
-
Click to select specific devices as the attendance check points. By default, all devices are attendance check points.