Add Patrol Route
To start a patrol, you need to create a patrol route. Set the patrol point(s), patrol pattern, patrol duration, and shift schedule(s) to form a complete patrol route.
-
Make sure you have configuration permissions for patrol management and permissions to access the related patrol points and person groups.
-
Make sure you have already added patrol points and patrol schedule templates to the system. For details about adding patrol points, see Add Patrol Points. For details about adding patrol schedule templates, see Add Patrol Schedule Template.
-
On the top left of the Web Client, select
 > Integrated Service > Patrol > Patrol Management > Patrol Route.
-
Click Add to open the patrol route configuration
page.
Note:
If you have already added a patrol route before, click Save to proceed.
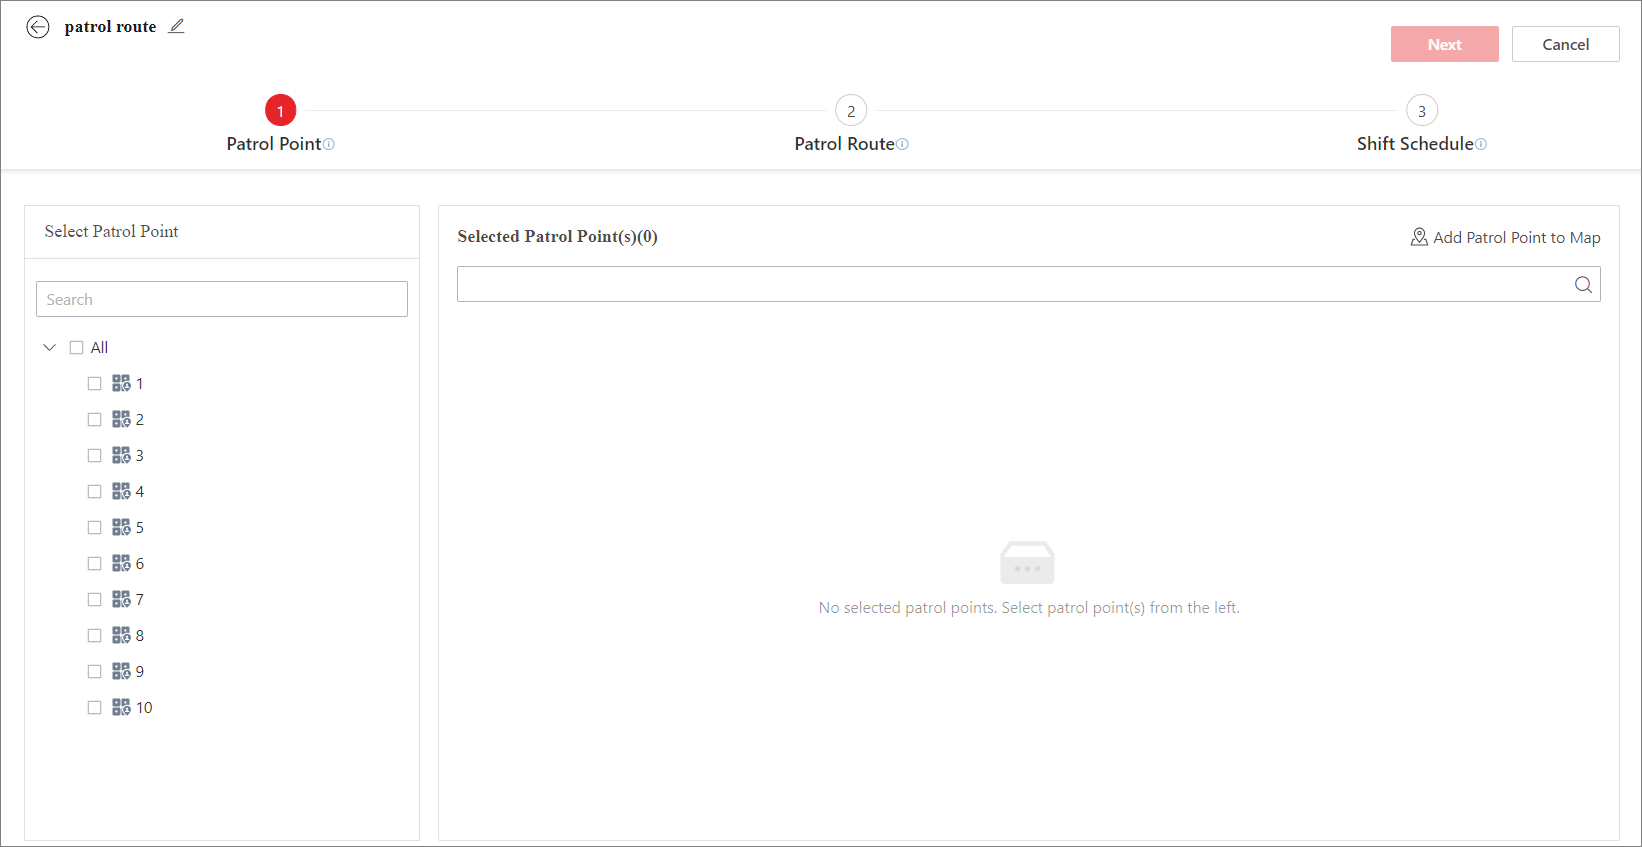 Figure 1 Patrol Route Configuration Page
 -
Select the patrol point(s) that the patrol persons need to patrol on a route,
and click Next.
Note:
-
If a patrol point has not been added to a map, you can click Add Patrol Point to Map and drag it onto a map.
-
You can click
 and
and  to rearrange the
patrol list order as needed.
to rearrange the
patrol list order as needed.
-
- Optional:
Perform the following operations according to your needs.
Option Description Switch Display Mode for Patrol Routes
On the top right of the page, click
 to view the added
patrol routes in calendar mode, or click
to view the added
patrol routes in calendar mode, or click  to view them in list
mode. For the calendar mode, you can switch among day, week, and
month views.
to view them in list
mode. For the calendar mode, you can switch among day, week, and
month views.Filter Patrol Routes
On the top right of the page, click
 , set the conditions
(route name, patrol points, persons, patrol person groups, schedule
templates, patrol route status, and time range) according to your
needs, and click Filter.
, set the conditions
(route name, patrol points, persons, patrol person groups, schedule
templates, patrol route status, and time range) according to your
needs, and click Filter.View Route Details
Click the name of a route to enter its route details page. You can view information such as patrol points, patrol pattern, patrol duration, and shift schedules configured for the route. You can also view maps to which the patrol points of the route are being added.
Edit a Patrol Route
Click the name of a patrol route, and click Edit Route on the top right of the page to enter the route configuration page. You can edit the route settings such as patrol points, patrol pattern, patrol duration, and shift schedules.
Disable Patrol Routes
Select the routes to be disabled and click Disable Route.
Enable Patrol Routes
Select the routes to be enabled and click Enable Route.
Delete Patrol Routes
Select the routes to be deleted and click Delete.