Configure Scheduled Report
You can add a scheduled report so that captured pictures will be sent regularly via email.
Make sure you have added a capture schedule. For details, see Configure Capture Schedule.
-
In the top left corner of Control Client, select
 > Video > Video Settings > Scheduled Report.
-
Click
 to add a scheduled report.
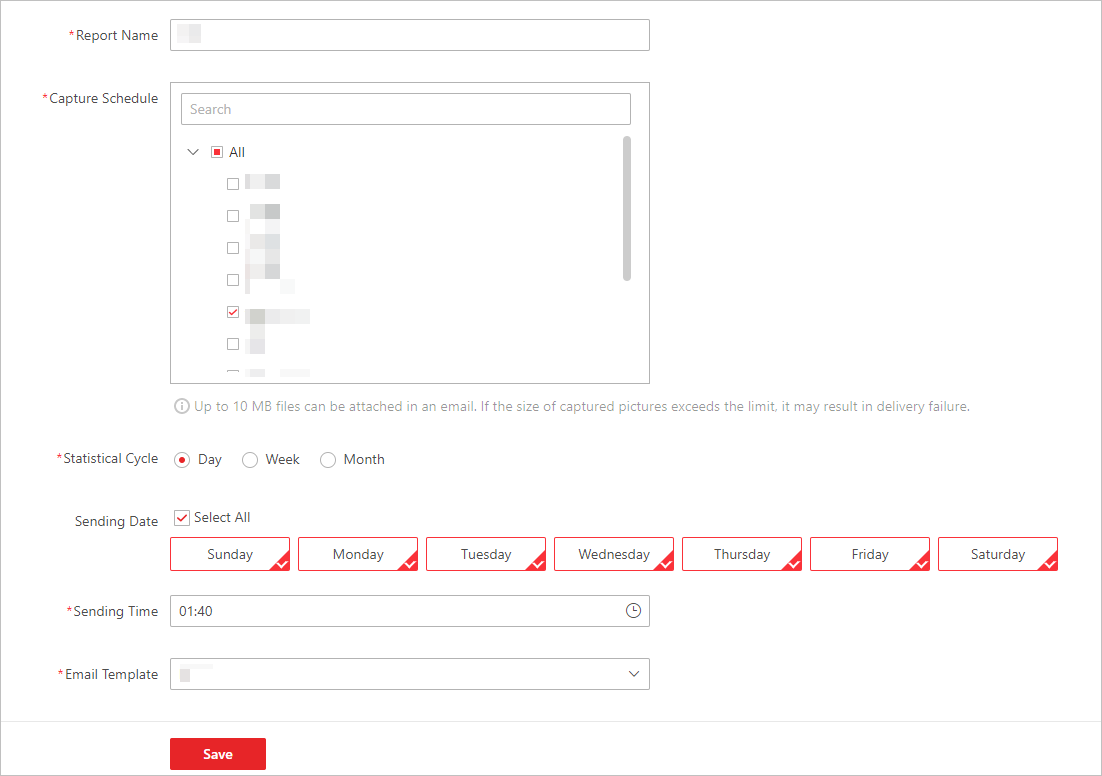 Figure 1 Add a Scheduled Report