Add Interactive Flat Panel to Area for Current Site
You can add interactive flat panels to areas for convenient management.
-
Make sure you have switched to the Interactive Flat Panel mode. See details in Switch Application Mode.
-
The interactive flat panels need to be added to the HikCentral Professional for area management. Refer to Manage Interactive Flat Panel for details.
Note:
One interactive flat panel can only be added to one area.
-
In the top left corner of Home page, select
 > Basic Management > Device.
-
In the left panel, select the current site from the drop-down site list to
show its areas.
Note:
The icon
 indicates that the site is the current site.
 -
Click Add to enter the Add Interactive Flat Panel page.
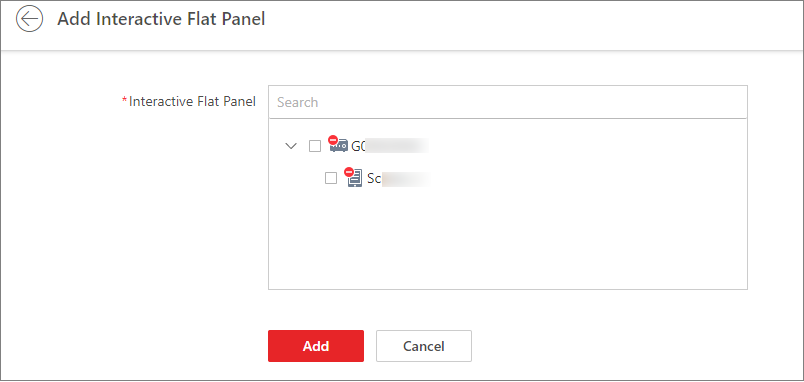 Figure 1 Add Interactive Flat Panel