Add Camera to Area for Remote Site
If the current system is a Central System with a Remote Site Management module, you can also add cameras from the Remote Site to areas in the Central System for management.
Encoding devices need to be added to HikCentral Professional for area management. Refer to Manage Encoding Device for details about adding devices.
Cameras can only belong to one area. You cannot add a camera to multiple areas.
-
In the top-left corner of the Home page, select
 > Basic Management > Device.
-
In the
left
panel, select the added Remote Site from the drop-down site
list to show its areas.
Note:
The icon
 indicates that the site is a Remote Site.
 -
Click
 on the element page to enter the
Add Camera page.
on the element page to enter the
Add Camera page.
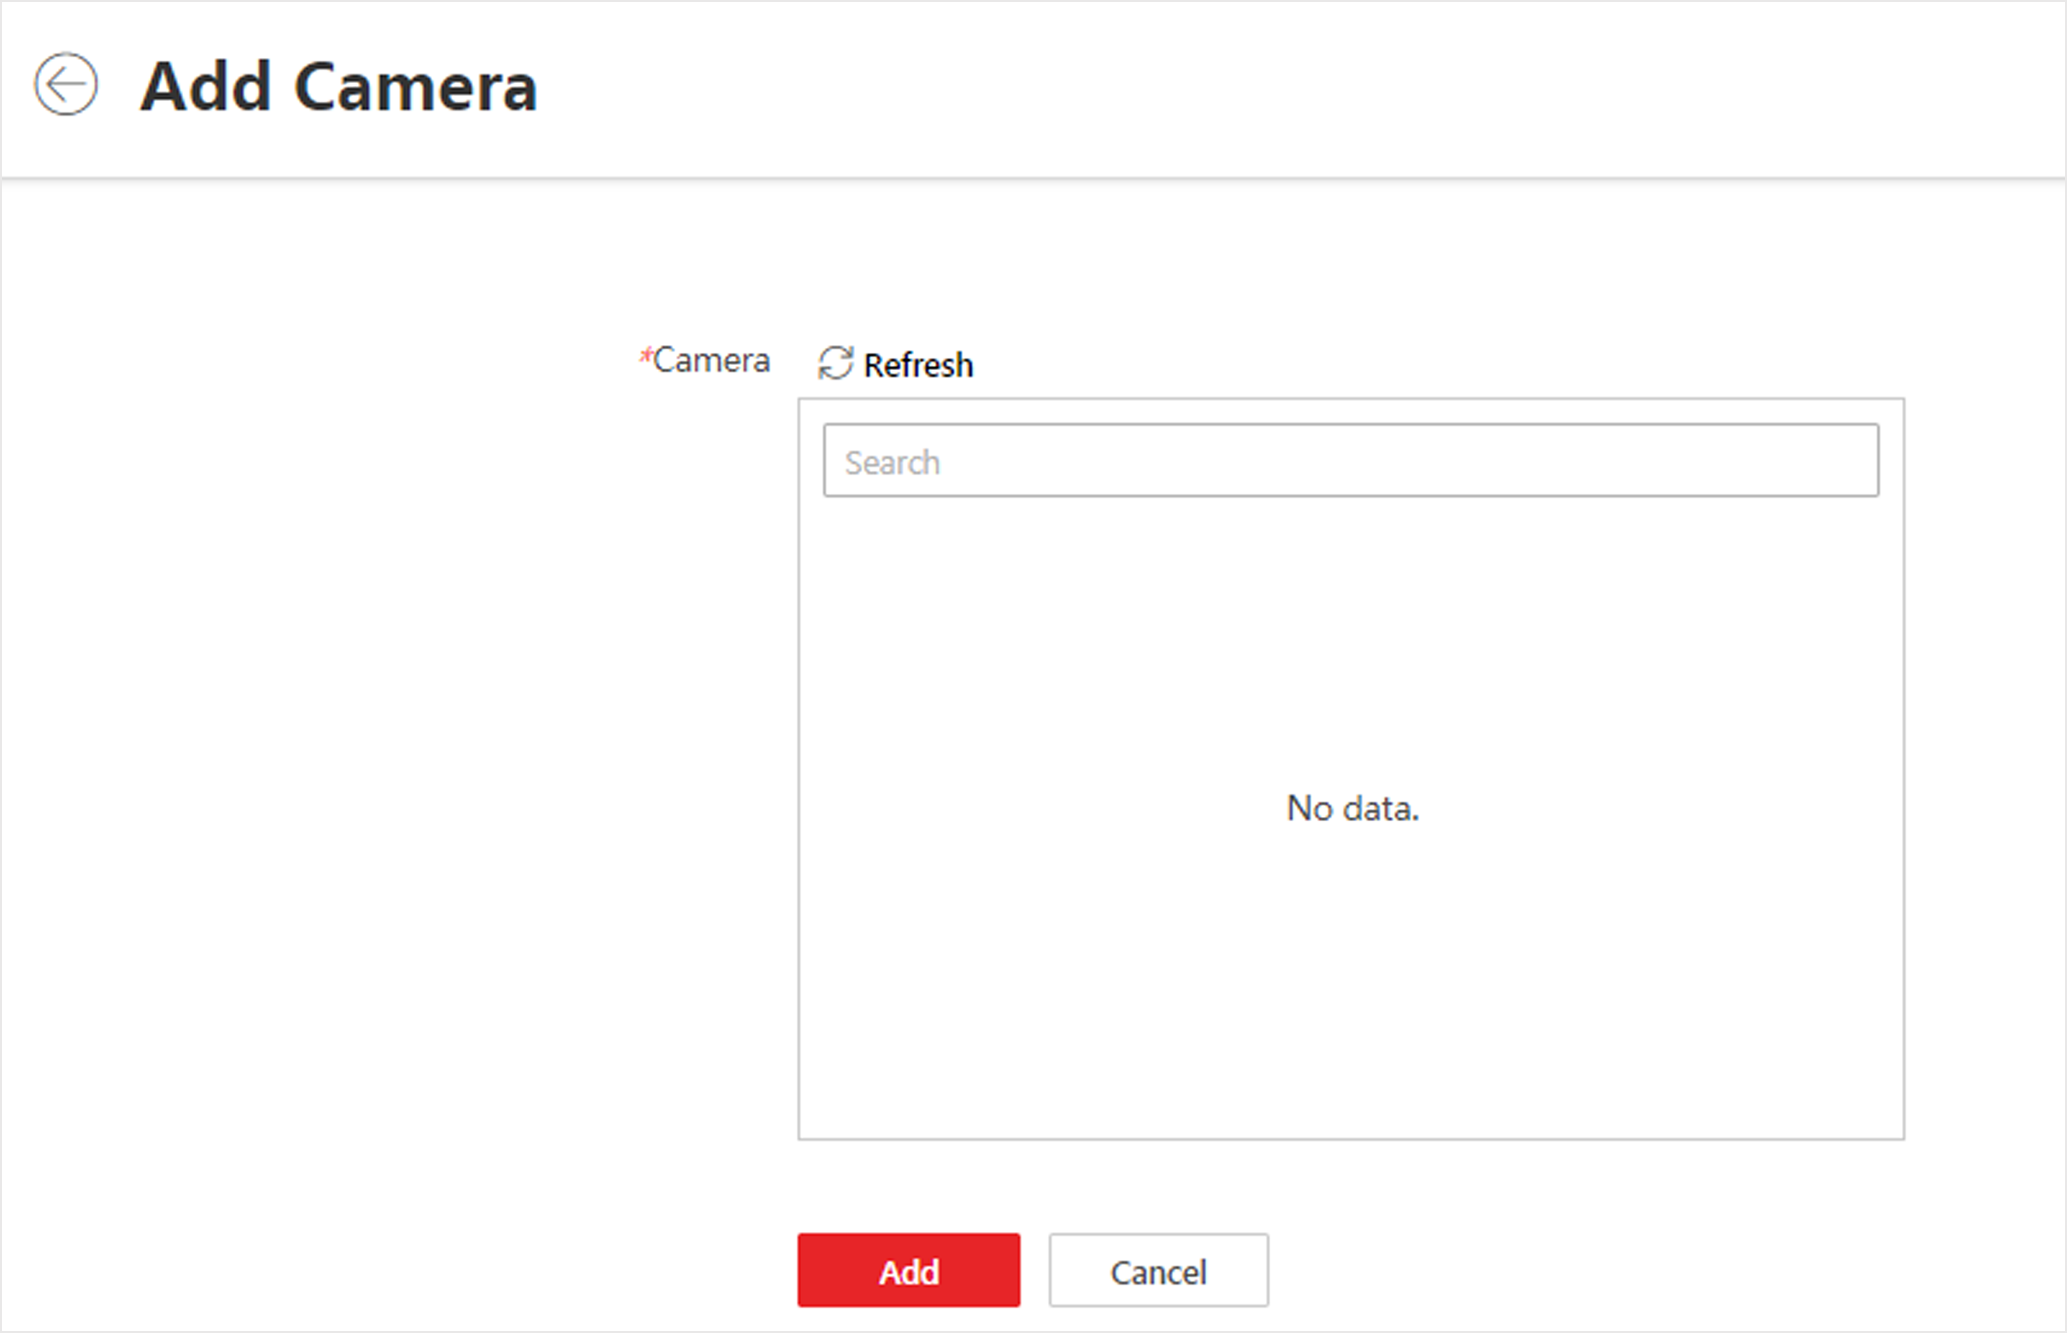 Figure 1 Add Camera to Area for
Remote Site
Figure 1 Add Camera to Area for
Remote Site - Optional:
After adding the camera(s), you can do one or more of the followings:
Option Description Export Information of All Cameras
Click
 to export the
information of all cameras added to the area to an Excel file.
to export the
information of all cameras added to the area to an Excel file.Synchronize Camera Name
Select the cameras and click
 to get the cameras'
names from the devices in a batch.
to get the cameras'
names from the devices in a batch.Set Camera ID
Click
 to enter the Camera
ID page, edit the default identifier number in the ID column of each camera, and click
Save.Note:
to enter the Camera
ID page, edit the default identifier number in the ID column of each camera, and click
Save.Note:The camera ID is unique and used to display a certain camera's live view on the smart wall via the network keyboard.
Get PTZ Configuration
Select the cameras and click
 to get the details
of PTZ configurations from the devices in a batch.
to get the details
of PTZ configurations from the devices in a batch.Move Camera(s) to Another Area
Select the cameras, click
 , select a target
area, and click Move to move the selected
cameras to the target area.
, select a target
area, and click Move to move the selected
cameras to the target area.Display Cameras of Sub Areas
Check Include Sub-Area to display the cameras of sub areas.
Filter Cameras by Device Type
Select the device type(s) to be displayed in the list from the drop-down list to the left of the search box.
Mark Camera
Select the cameras, click
 and check Two-Way Audio Supported to mark the
cameras which support two-way audio.
and check Two-Way Audio Supported to mark the
cameras which support two-way audio.