Search Access Records
You can search for persons' access records triggered on specified access points (including doors and elevators) via the Client by setting search conditions. For example, if you select specific access points and set the event type to access denied by card, you can get all access denied events (accessing by swiping a card) triggered on the access points.
Make sure you have configured the access point event. For details, refer to Add Normal Event and Alarm.
-
In the upper-left corner of the Home page, select
 > Passing Management > Access Control > Search > Identity Access Search.
- Optional:
Import access records to the system.
-
Import access records from the device(s).
-
Click to enter the Import from Device page.
-
Select the device(s) from the device list.
-
Optional: Switch on Specified Time Range and set the start time and end time to import access records generated in the specified time period.
Note:-
If the device has uploaded access record(s) to the system before, switching on Specified Time Range is not required and access records during the past 7 days of the selected device(s) will be imported by default if no time range is specified.
-
If the device has never uploaded any access record to the system before, you must switch on Specified Time Range for importing access records from the selected device(s).
-
-
Click OK to start importing.
A window will pop up to display the importing progress and the failure details.
-
-
Import access records from the file which is exported from the device.
-
Click to enter the Import from File page.
-
Click
 to select the
file to be imported.Note:
to select the
file to be imported.Note:Only the encrypted file can be imported.
-
Enter the password in the Password field.
-
Click OK.
-
-
- Optional:
In the Access Point area, click
 , select the area on the left list, and select
door(s) and elevator(s) or
select all on the right list.
, select the area on the left list, and select
door(s) and elevator(s) or
select all on the right list.
- Optional:
In the
Event Type area, click to select the event type(s).
-
Set the searching mode.
-
-
Select Person/Visitor as the searching mode.
-
Select Select Person or Fuzzy Matching as the searching mode.
- Select Person
-
Click
 to select the person(s)Note:
-
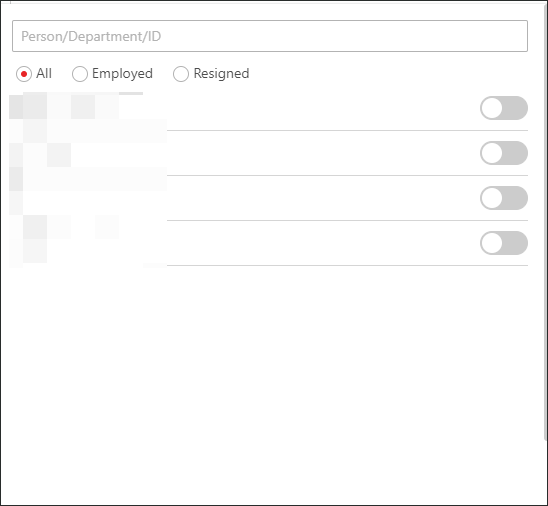
You can click More to enable custom information items and enter the keyword in the text field to search for matched persons.
Note:Make sure you have customized additional information about persons. For details about customizing additional information, refer to Customize Additional Information.
-
If you check Select All Persons, all persons who matched the search conditions you set will be selected.
-
You can check Include Sub Department to display the persons of sub-departments.
You can click More to select Employed/Resigned to select the employed/resigned person(s).
-
- Fuzzy Matching
-
Enter a keyword to search for persons whose name contains the keyword.
-
Click Add to select the person(s), or enter the keywords of the person's name for fuzzy matching.
-
-
-
Select Card No. as the search mode.
-
Enter the card number.
-
-
- Optional:
Perform the following operations after searching for access records.
Option Description Custom Column Items
On the top right, click
 to select column
items to be displayed. You can click Reset to
select again.
to select column
items to be displayed. You can click Reset to
select again.View Record Details
Click the person name in the Full Name column to view the record details, such as person information, and access information.
Filter Search Results by Person Type
Click
 next to the column
name Person and select persons to
filter the search results.
next to the column
name Person and select persons to
filter the search results.Forgive Anti-Passback Violation
When a person attempts to use a card without following the anti-passback rule, the access will be denied. This is called "Anti-Passback Violation". When the anti-passback violation occurs, no access is allowed unless the anti-passback violation event is forgiven.
You can click Forgive Anti-Passback on the top to forgive all the anti-passback violation events in the search results.
Export Single Record
Click
 in the Operation
column to save a record as an Excel file on your PC, including the
event details, the person information, person profile, recorded
video file (if configured), etc.
in the Operation
column to save a record as an Excel file on your PC, including the
event details, the person information, person profile, recorded
video file (if configured), etc.Export All Searched Records
Click Export in the upper-right corner to save the searched access record details in your PC. You can select the file format as an Excel or a CSV file, and select items to export. If you select Excel, you can check Profile Picture to save the captured pictures and person profile photos.
Note:Up to 500 records can be exported each time.
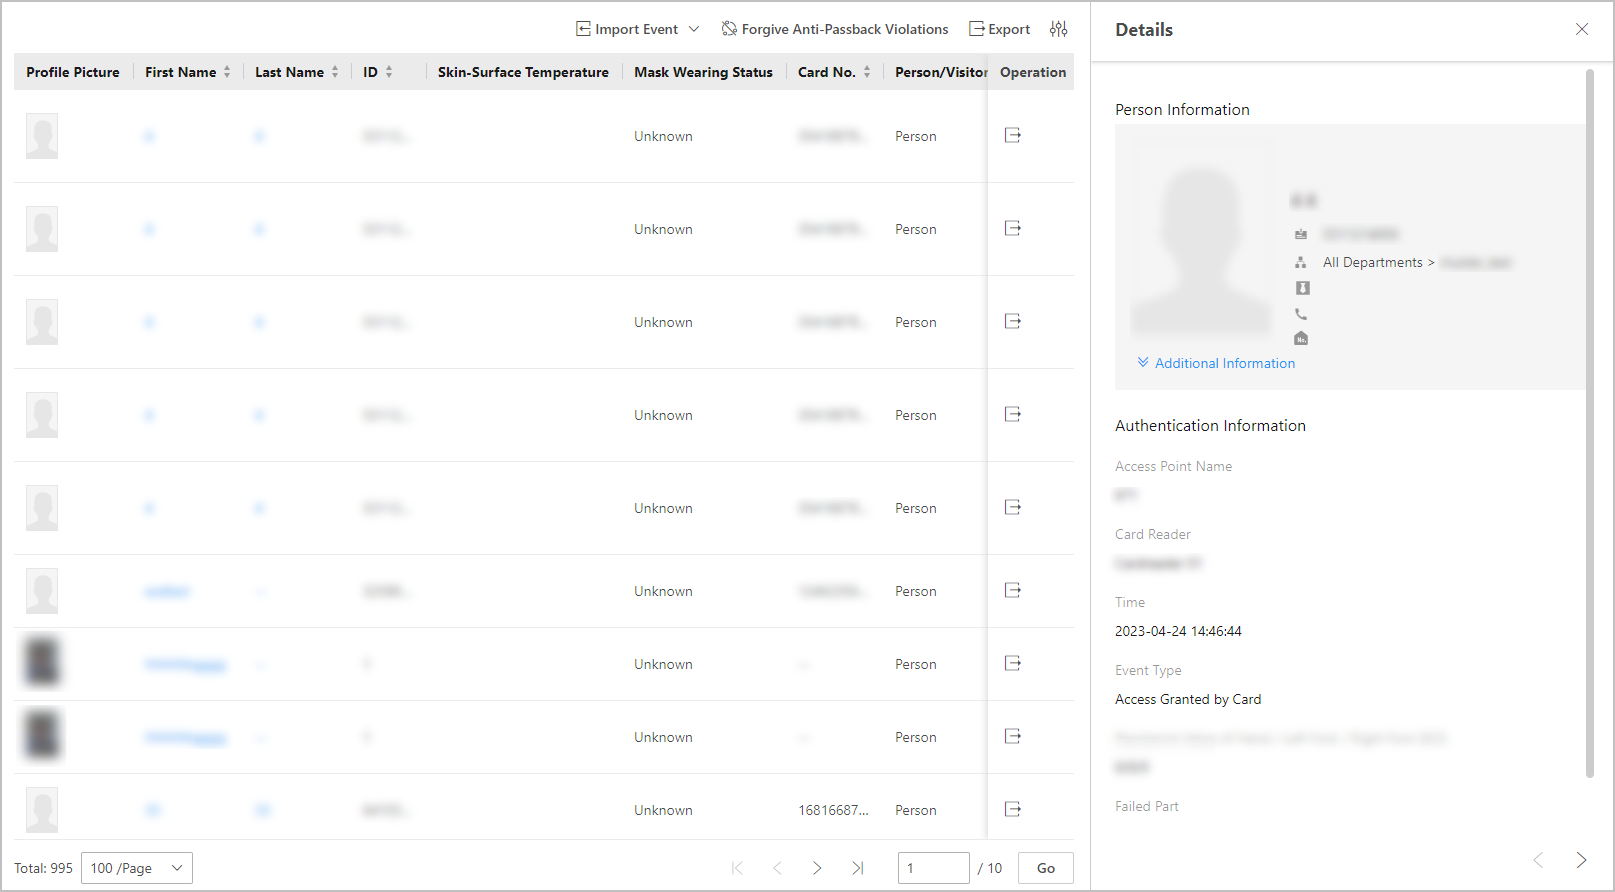 Figure 1 Real-Time
Events
Figure 1 Real-Time
Events