Batch Import Registered Vehicles
You can import the information of multiple vehicles to the platform as registered vehicles at one time.
-
On the top navigation bar, select
 > Basic Management > Vehicle to enter the vehicle management page.
-
In
the top left corner of the Vehicle page, click
Import.
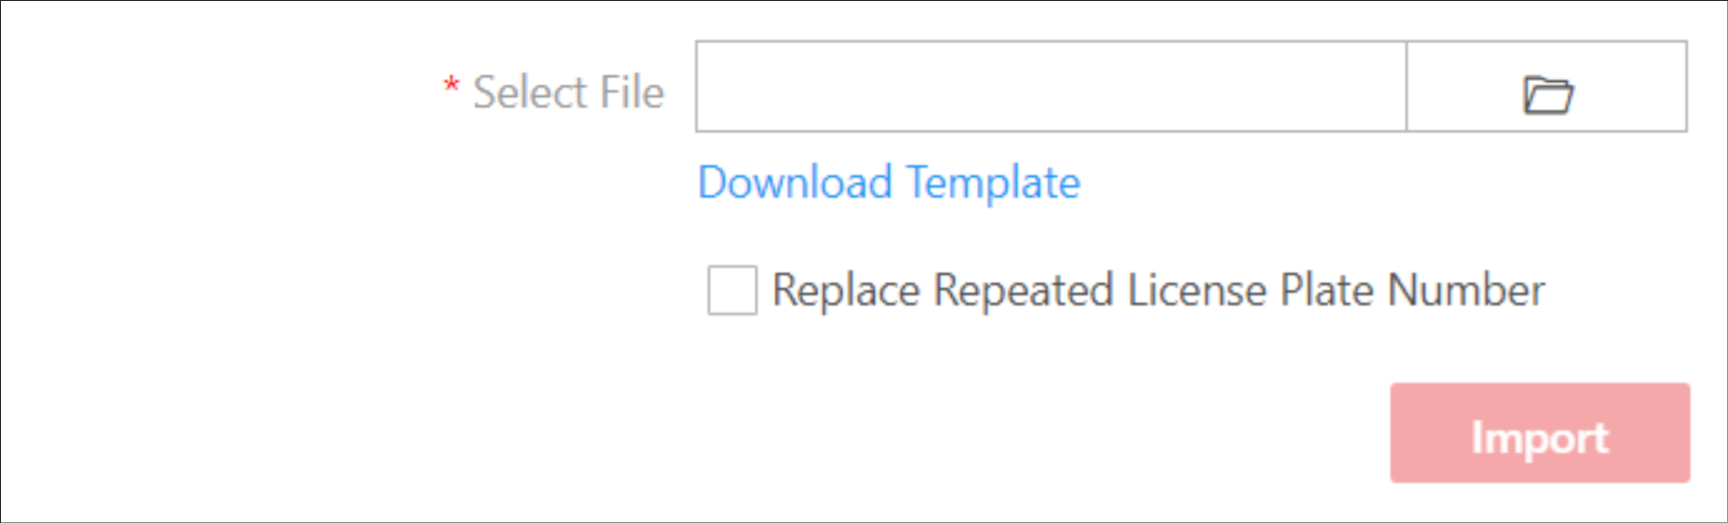 Figure 1 Import File
 -
Click
 and select the file.
- Optional:
Perform the following operation(s) after importing registered vehicles.
Option Description Edit a Vehicle
Click a number in the License Plate Number column to edit the vehicle information.
Delete Vehicles
-
Check the vehicle(s) and click Delete to delete the selected vehicle(s).
-
Click
 beside
Delete and click
Delete All to delete all the
added vehicles in different vehicle lists.
beside
Delete and click
Delete All to delete all the
added vehicles in different vehicle lists.
Delete Expired Vehicles
Click Delete Expired Vehicle to delete all expired vehicles from different vehicle lists.
Filter Vehicles
Click
 and set conditions
to filter specific vehicles.
and set conditions
to filter specific vehicles.Export Vehicles
Click Export All to save the filtered vehicles or vehicles from all vehicle lists to your PC as an XLSX file, which can be imported to the platform again.
-
Only the vehicle with a parking pass can enter and exit the parking lot as a registered vehicle. Therefore, after batch importing vehicles to the platform, you need to link a parking pass to each of them in the Top-Up Management module later. See Top Up Parking Pass for more details.