Configure Visual Tracking
Visual tracking allows you to track an individual (such as a suspect) across different areas without losing sight of her/him. Before you can use this function, you need to associate a camera (hereafter named as "camera A") with other cameras nearby. After that, icons representing the nearby cameras will be overplayed on the view of camera A. You can click these icons to redirect to the associated cameras' views during live view or playback.
-
In
the top left corner of the platform, select
 > Security Monitoring > Video > Video Application > Visual Tracking.
- Optional:
Hover the cursor over the thumbnail list on the right side, and then click
Set Visual Tracking to set visual tracking for the
related camera.
Note:
You can repeat this step to set visual tracking for more cameras. After that, you can view the visual tracking route of different cameras. You can click one camera to view its corresponding visual tracking image.
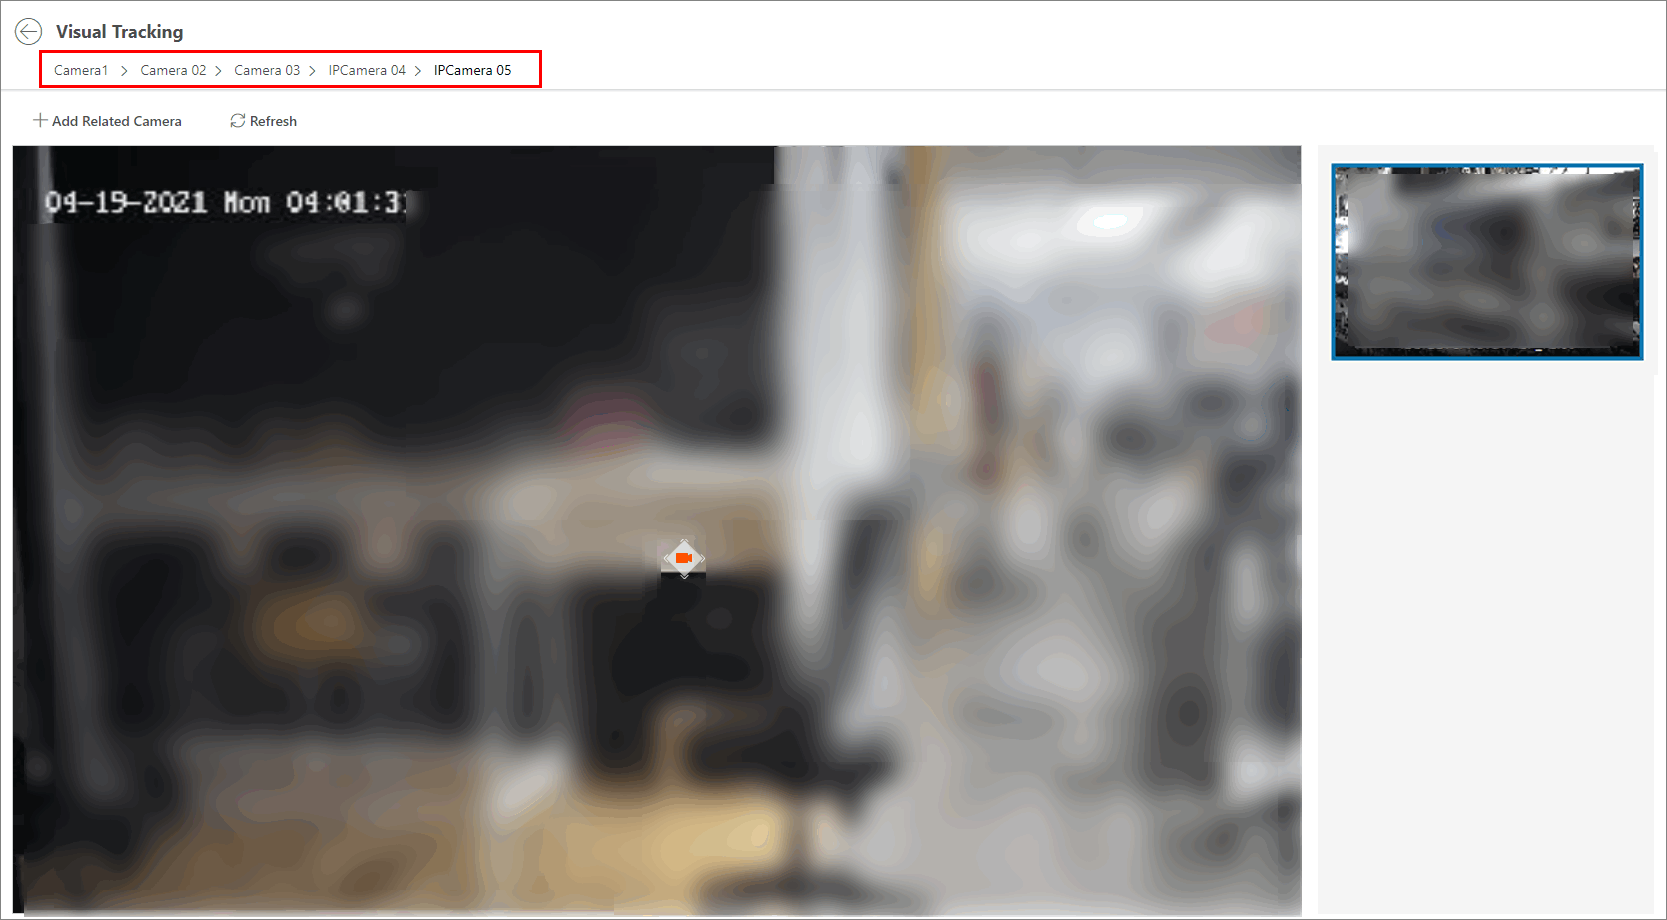 Figure 1 Set Visual
Tracking
Figure 1 Set Visual
Tracking -
Click
 in the upper-left corner to save
the above settings and back to the visual tracking page.
in the upper-left corner to save
the above settings and back to the visual tracking page.
The security personnel will be able to use the video tracking function on the Control Client.
Visual Tracking in Hallway
The following picture shows the monitoring image of camera A in a hallway. There are three directions: B, C, and D, and each direction is monitored by camera B, C, and D respectively.
In this case, you can drag camera B to the B position so as to overlay the icon of camera B on the monitoring image, and then do similar operations for camera C and camera D. After that, when an individual passes by the hallway and turns to direction B, the security personnel can click the icon of camera B on the view of camera A to redirect to the view of camera B.
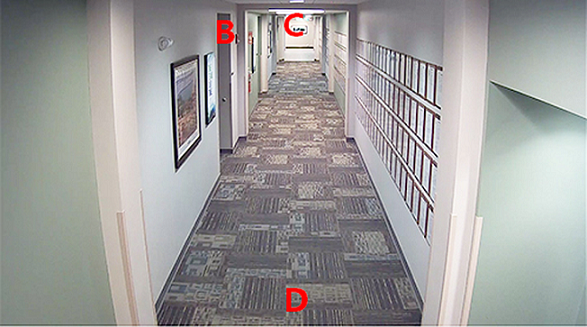 Figure 2 Monitoring Image of Camera
A
Figure 2 Monitoring Image of Camera
A