Relate Calibrated Camera to Radar
This operation requires two persons' teamwork: person A walks into the radar's detection area (the person's position will be displayed on the map as a red point), while person B who operates the computer running the Web Client adds calibration points by PTZ control of the camera(s) according to person A's position.
A radar has been added to the area and map. Refer to Add Security Radar to Area for Current Site and Add Hot Spot on Map for details.
-
In the top left corner of Home page, select
 > Visual Map > Map > Map Settings.
-
Person A goes to the location which can be detected by one of the
cameras.
Person A's location will appear on the map as a red point
 .
. -
Person B clicks on the map to open the adding
calibration point window.
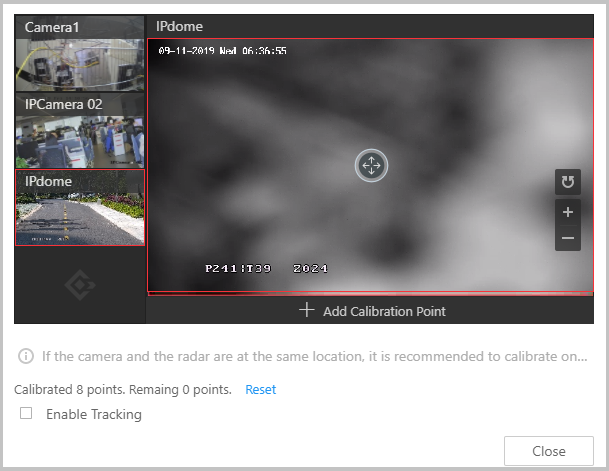 Figure 1 Add Calibration
Point
Figure 1 Add Calibration
PointThe cameras' thumbnails will be displayed on the left of the window.
-
Close the Add Calibration Point window and click
 to save the settings.