Configure Alarm Receiving Settings
You can manage alarm recipients in groups to quickly set recipients for different categories of alarms, and set default alarm recipients who can receive all the alarms triggered by resources they have access permissions, so that you do not have to select recipients for each single alarm. You can also set the timeout period of acknowledging alarms for filtering alarms on the Control Client and upload historical alarms to the Control Client.
-
In the top left corner of the Client, select
 > Security Monitoring > Event and Alarm.
-
In the Alarm Recipient Group field, click
 above the group list to open the adding alarm recipient
group pane.
above the group list to open the adding alarm recipient
group pane.
-
Enter a name for the group and click Add.
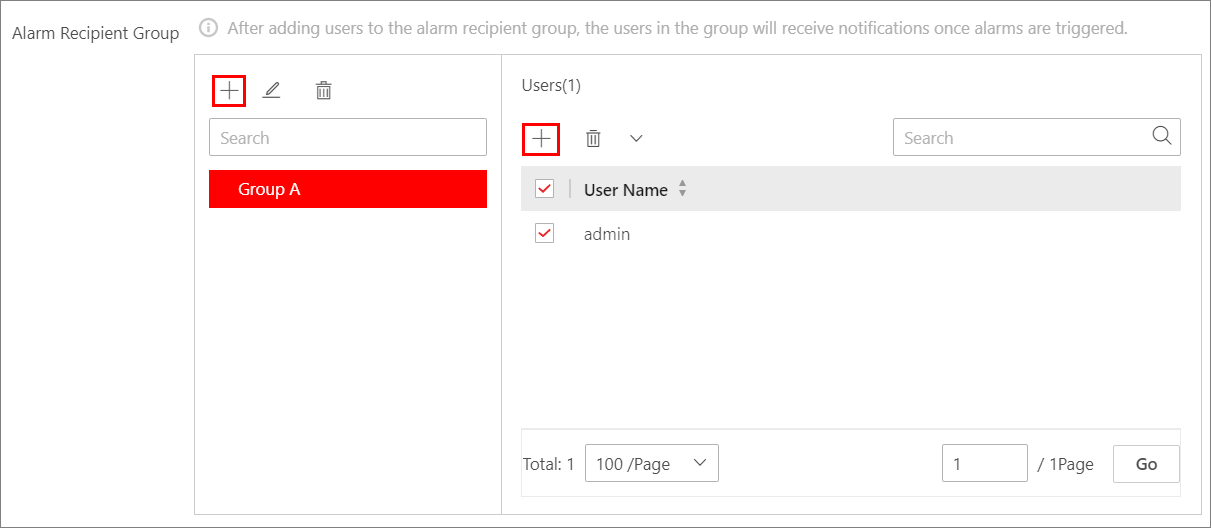 Figure 1 Alarm Recipient Group
Field
Figure 1 Alarm Recipient Group
Field -
Select an alarm recipient group and click in the Users field to add user(s) to the group.
- Optional:
Check user(s) in the group and click
 to remove the selected user(s) from the group or click
  > Delete All to remove all the users from the group.