Add and View Unlinked Files
You can add the files which are unlinked with evidence(s). For the added unlinked file(s), you can perform more operations such as viewing the added files by category, filtering and exporting the unlinked files.
-
On the top left, select
 > Security Monitoring > Evidence Management Center.
-
Select on the left.
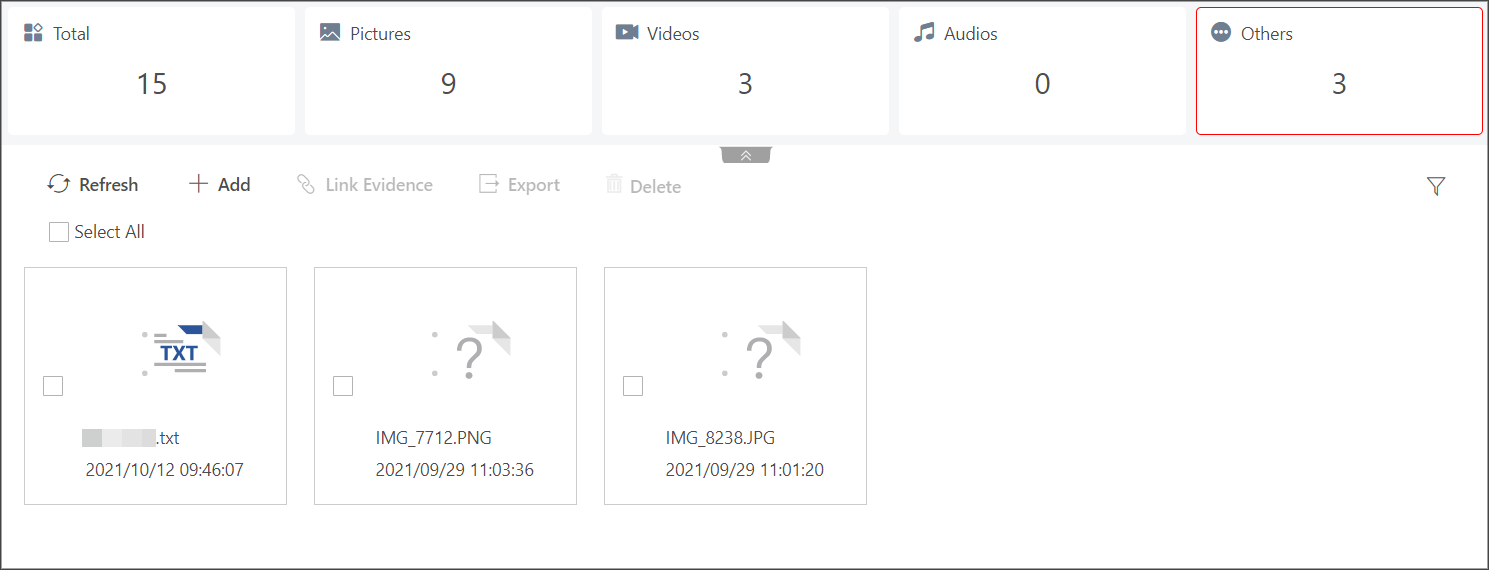 Figure 1 File Management
Page
Figure 1 File Management
Page - Optional:
Perform further operations if needed.
Option Description View the Unlinked Files by Category
At the top of File Management page, you can view the total number of unlinked files or the number of categorized files, including pictures, videos, audios, and others. You can also click each category to view all of the corresponding files information, including the file name and uploading time.
Filter the Unlinked Files
Click
 in the upper right
corner to unfold the filter pane, enter the evidence name in the
search box or select the creation time, and then click
Filter to filter the target evidence.
in the upper right
corner to unfold the filter pane, enter the evidence name in the
search box or select the creation time, and then click
Filter to filter the target evidence.Refresh the Unlinked Files
You can click Refresh to refresh the file list.
Floating Window Display
Hover your cursor on the added picture to view the enlarged picture in a floating window.
Link the Unlinked Files to Evidence
For details, refer to Link Files with Evidence.
Export the Unlinked Files
Select the unlinked file(s) and click Export to export the file(s).
Note:For viewing the file exporting records, refer to Manage Operation Records.
Delete the Unlinked Files
Select the unlinked file(s) and click Delete to delete the selected file(s).