Add Evidence
You can add evidence about incidents such as traffic accidents and violent crimes in case of the need for settling disputes or legal cases. You can set detailed information for the added evidence, including the evidence name, ID, type, tag, on-site organization, result/conclusion, status, and time. Also, you can upload the file (including pictures, audios, videos, Excel files, CSV files, PDF files, and others) as the evidence content from cameras or local PC.
Make sure you have configured basic settings. For details, refer to Basic Settings.
-
On
the top left, select
 > Security Monitoring > Evidence Management Center.
-
Click Add to enter the Add Evidence page.
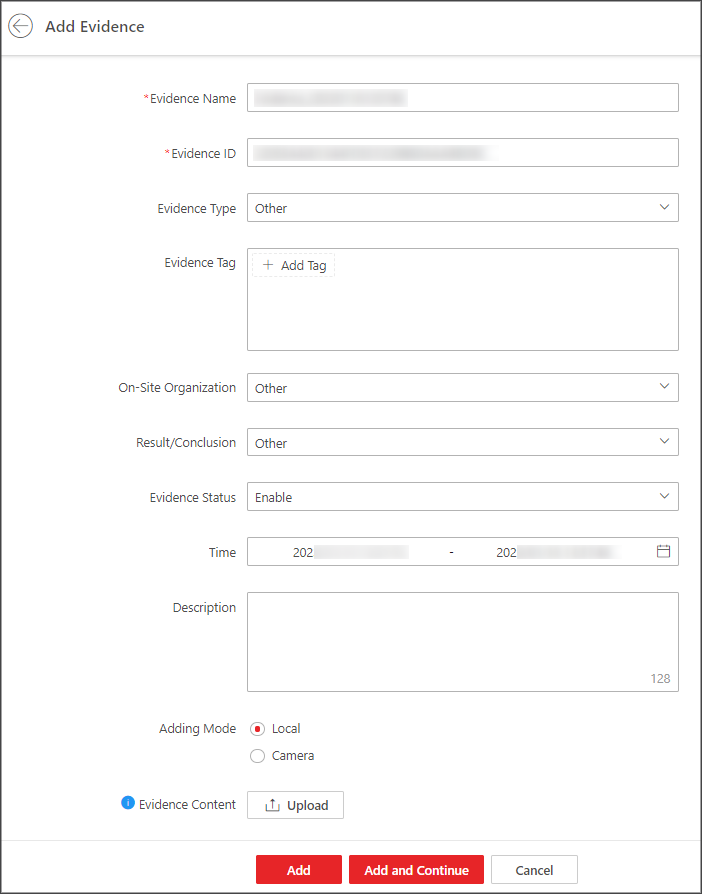 Figure 1 Add Evidence
 - Optional:
Perform further operations after adding evidence(s) if needed.
Option Description Refresh Evidence
Click Refresh to refresh the latest view of evidence information.
Switch Display Mode
Click
 or
or  to display the added
evidence in card mode or list mode.
to display the added
evidence in card mode or list mode.Delete Evidence
Select the evidence(s) and click Delete to delete the evidence(s).
Filter Evidence
Click
 on the upper right
corner of the Evidence Management page, enter a keyword in the
search box or set filter conditions, and click
Filter to filter the target
evidence(s).
on the upper right
corner of the Evidence Management page, enter a keyword in the
search box or set filter conditions, and click
Filter to filter the target
evidence(s).Enable/Disable Evidence
Click Disable Evidence to disable the evidence if the related case is settled, or click Enable Evidence to enable the selected evidence if the related-case is pending.
Export Evidence Record
Click Export to export the selected evidence record(s) in Excel, CSV, or PDF format.
Note:You can check Include Evidence File to export the attached evidence file.
View Evidence Details and Edit Evidence
In card mode or list mode, you can click the evidence name to view the evidence's content, basic information, and operation records.
You can edit the evidence's basic information, such as the evidence type, time, and tag.
You can also upload related files from local PC for the evidence content.
Note:-
If you have added a picture for evidence content, you can click
 or
or
 to zoom
in or delete the picture.
to zoom
in or delete the picture. -
If you have added the file for evidence content and exported the evidence, you can hover your cursor on the added file, then click
 >
>  to copy the evidence's original sha256
value. You can compare it with the sha256 value of the
evidence collected by other persons so as to verify the
content integrity of collected evidence.
to copy the evidence's original sha256
value. You can compare it with the sha256 value of the
evidence collected by other persons so as to verify the
content integrity of collected evidence.
-