View and Configure Details of Encoding Devices
The device basic configuration, recording schedule, connected resource (alarm input and alarm output), intelligent capability, alarm output linkage, and advanced configurations (such as transfer protocol and PTZ settings) are displayed according to the device type and capability.
On the top of the Desktop, click to show the added device list. Click a device name to open the device details page.
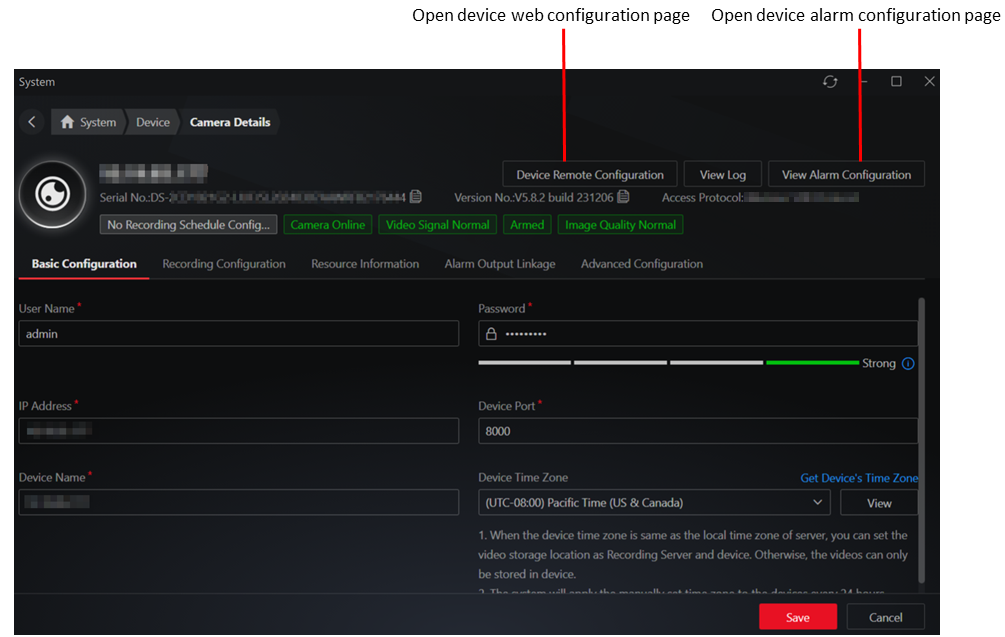
The device details vary according to the device type, access protocol, and device adding method. Configurations should be subject to the actual situation.
Device Details Tab Page Introduction
|
Tab Name |
Description |
|---|---|
|
Recording Configuration |
It is valid for cameras only. Enable/disable the recording and configure recording parameters. Refer to Configure Recording Parameters for details. |
|
Resource Information |
|
|
Intelligent Capability |
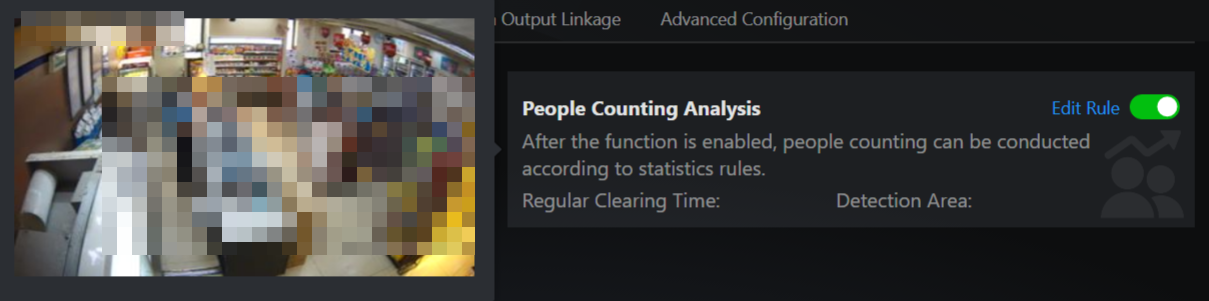
Intelligent functions such as face picture comparison, people counting, and ANPR of the camera are displayed according to the camera capability and License. Before applying the intelligent functions of cameras, you need to enable them. In addition, editing intelligent function rules and copying rules to other cameras are supported on the current page. |
|
Alarm Output Linkage |
It is valid for cameras only. Add or edit the alarm outputs of cameras on the live view image. |
|
Advanced Configuration |
If the camera has PTZ functionality, you can perform the PTZ control directly on current page. Refer to PTZ Control During Live View for details. Also you can manually set the camera type to PTZ camera in case the PTZ capability recognition is incorrect. |
Configure Recording Parameters
-
The recording schedule of added encoding devices will be automatically synchronized to the system. That is, if a camera already has recording schedule configured, the system will automatically enable recording according to the configured schedule when the camera is added.
-
The stream type for video storage is set to dual-stream by default if the camera supports. You can switch the stream during playback.
-
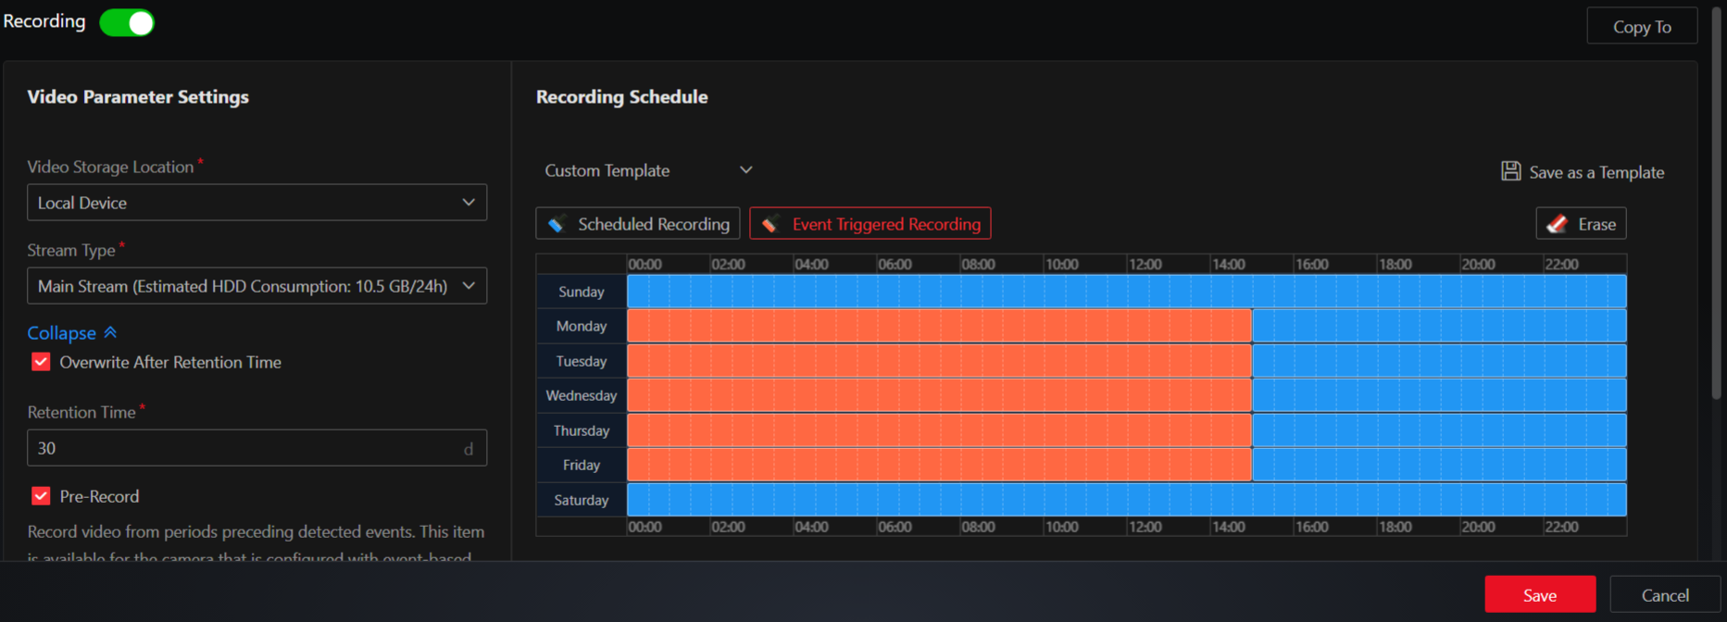
Switch on Recording.
-
Set the video recording parameters.
- Video Storage Location
-
The storage location of recorded video files, which can be NVRs/DVRs.
- Recording Schedule
-
You can use the schedule template or define a custom schedule. The scheduled recording is to record continuously within the time duration, while the event triggered recording is to record when alarm occurs.
- Overwrite After Retention Time
-
It is valid when the video storage location is set to local device. Overwrite the old videos after the specified retention time period (unit: day).
-
(Optional) Switch on Back up Video to back up videos in another storage location.
-
Click Save to apply the recording configurations to the device.
-
(Optional) Click Copy To to copy the recording configurations to other devices.