Add Access Level
-
Select the access point(s).
In the Available list, select the access point(s) and click . You can view your selection in the Selected list.
Figure 1 Select Access Points - Optional:
Perform further operations on the added access level(s).
Option Description Edit Access Level
Click the name of an access level to view and edit its configurations.
Delete Access Level
Select an access level and click Delete to delete it or click > Delete All to delete all access levels..
View Details of Access Schedule or Access Point
Click to view details of access schedules or access points.
 . You can view your selection in the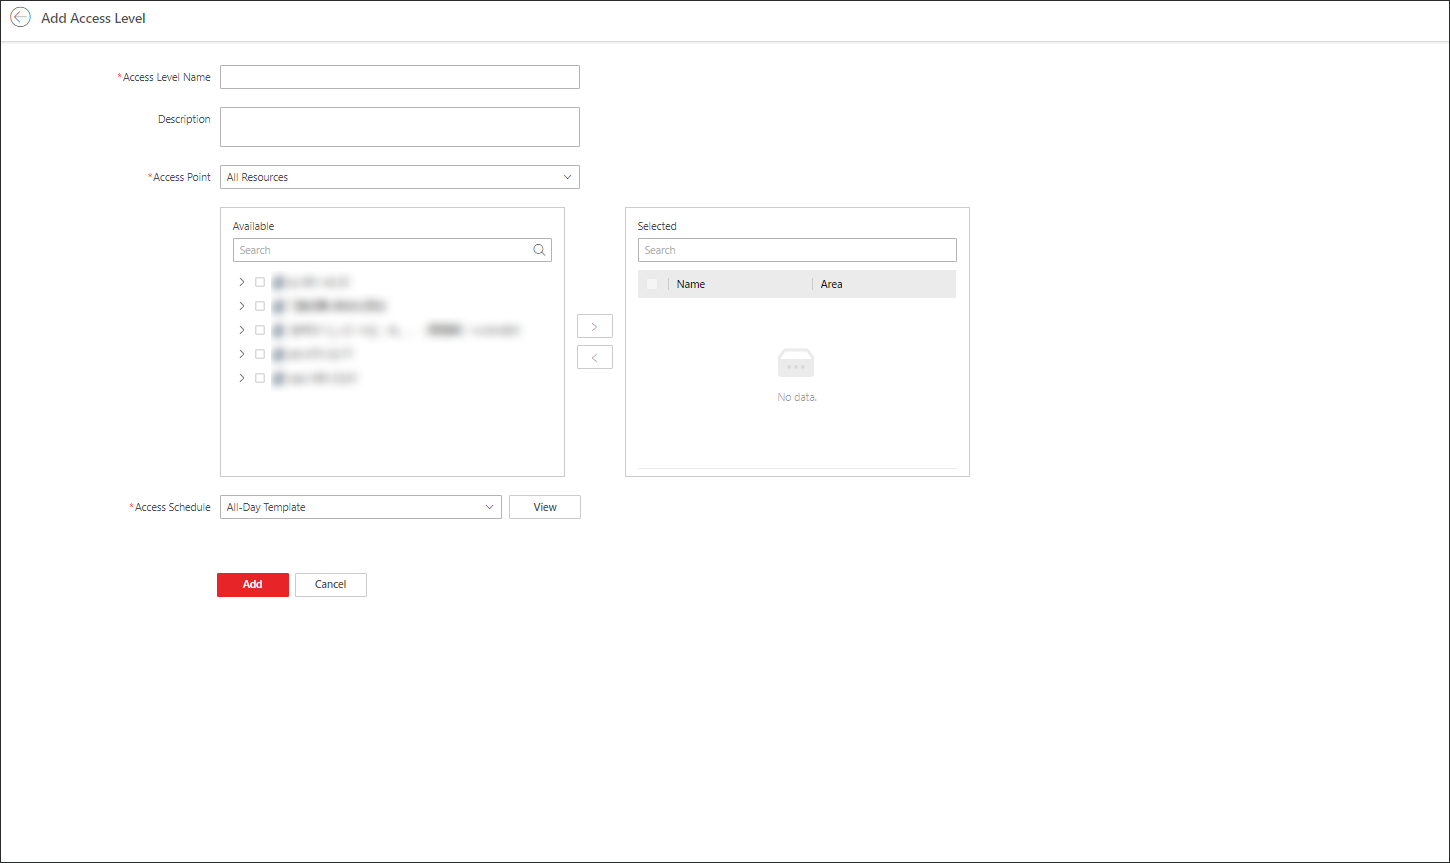

 to view details of
access schedules or access points.
to view details of
access schedules or access points.You need to assign the access level to persons, so that the assignees can have the access to the access points in the access level according to the access schedule. For details, refer to Manually Assign Access Level.