Add Area for Remote Site
You can add an area for the remote site to manage the devices in the Central System.
-
In the top left corner of Home page, select
 > Basic Management > Device.
-
In the
left
panel, select an added remote site from the drop-down site list to show its
areas.
Note:
The icon
 indicates that the site
is a remote site.
indicates that the site
is a remote site. -
Click
 on the area list panel to open
the Add Area panel.
on the area list panel to open
the Add Area panel.
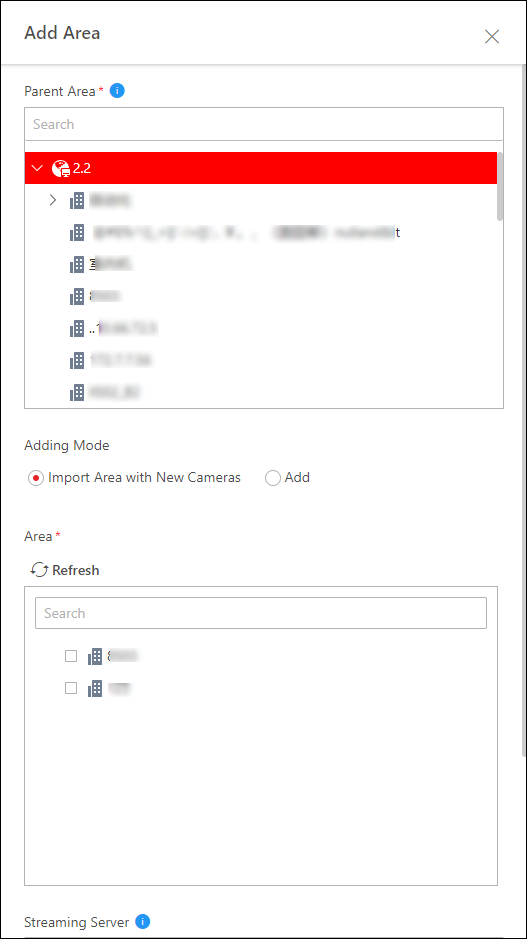 Figure 1 Add Area for Remote
Site
Figure 1 Add Area for Remote
Site - Optional:
After adding the area, you can do one or more of the following:
Option Description Edit Area
Hover the cursor on a specific area and click
 > Edit to edit the
area.
> Edit to edit the
area.Delete Area
Select an area and click
 or hover the cursor on an area and click > Delete to delete the
selected
area.
You can also press Ctrl on
your keyboard, select multiple areas, and then click to delete areas in a
batch.Note:
or hover the cursor on an area and click > Delete to delete the
selected
area.
You can also press Ctrl on
your keyboard, select multiple areas, and then click to delete areas in a
batch.Note:After deleting the area, the cameras will be removed from the area, as well as the corresponding recording settings and event settings.
Search Area
Enter a keyword in the search field of the area list panel to search for the area.
Move Area
Drag the added area to another parent area as the sub area.
Stick on Top
Hover the cursor on a specific area and click
> Stick on Top > to stick the area to the top.Note:The order of the parent area will not be changed.
Remove from Top
Hover the cursor on a specific area and click
> Remove from Top to restore the area order to the default (name
order).